Top 3 Things to Pick When you Build
Building a new home or thinking of it? We went through the process 8 years ago and compiled a short list of the top three things we are glad we picked up front. After ripping/replacing many elements in Casa Rossi…these have remained a staple.
Some design elements of a home are easier to swap out than others.
Here’s our list of 3 things we were glad we picked up front!
“Without good drawing, the foundation of a painting will collapse. ”
When we met with the design center for our home builder, we had a vision for the overall color palette and style we wanted for our house. We used Pinterest to create a home mood board and captured snapshots from all of the model home tours we had been on. Anyone else a big fan of model tours to see the finishes and styling!? Kevin had been through the process once before when he built his townhome but I had never gone through the process before, so in order to stay on the same page, we flagged design elements we both liked. We began to draw and imagine the outline of the house using this “mood board” method; that way when we went into the mecca that was the design center, we could stay on track with our look/feel and pace towards decisions to “paint” the finishes on top! Don’t get me wrong, it took us three sessions to make it all work—but we got there in the end! Here are the main elements we keyed in on and we hope this is a solid guide for you…so maybe you can accomplish your selections in just 2 trips instead.
Flooring
Going into the design, we knew we were growing our family and needed flooring finishes that would be both stylish and maintainable across time. Flooring was one area where we wanted to invest. Additionally, since it takes up such a large surface area, replacing floors later was not an undertaking nor an expense we wanted to relive for a long time. So let’s talk details.
Hardwoods
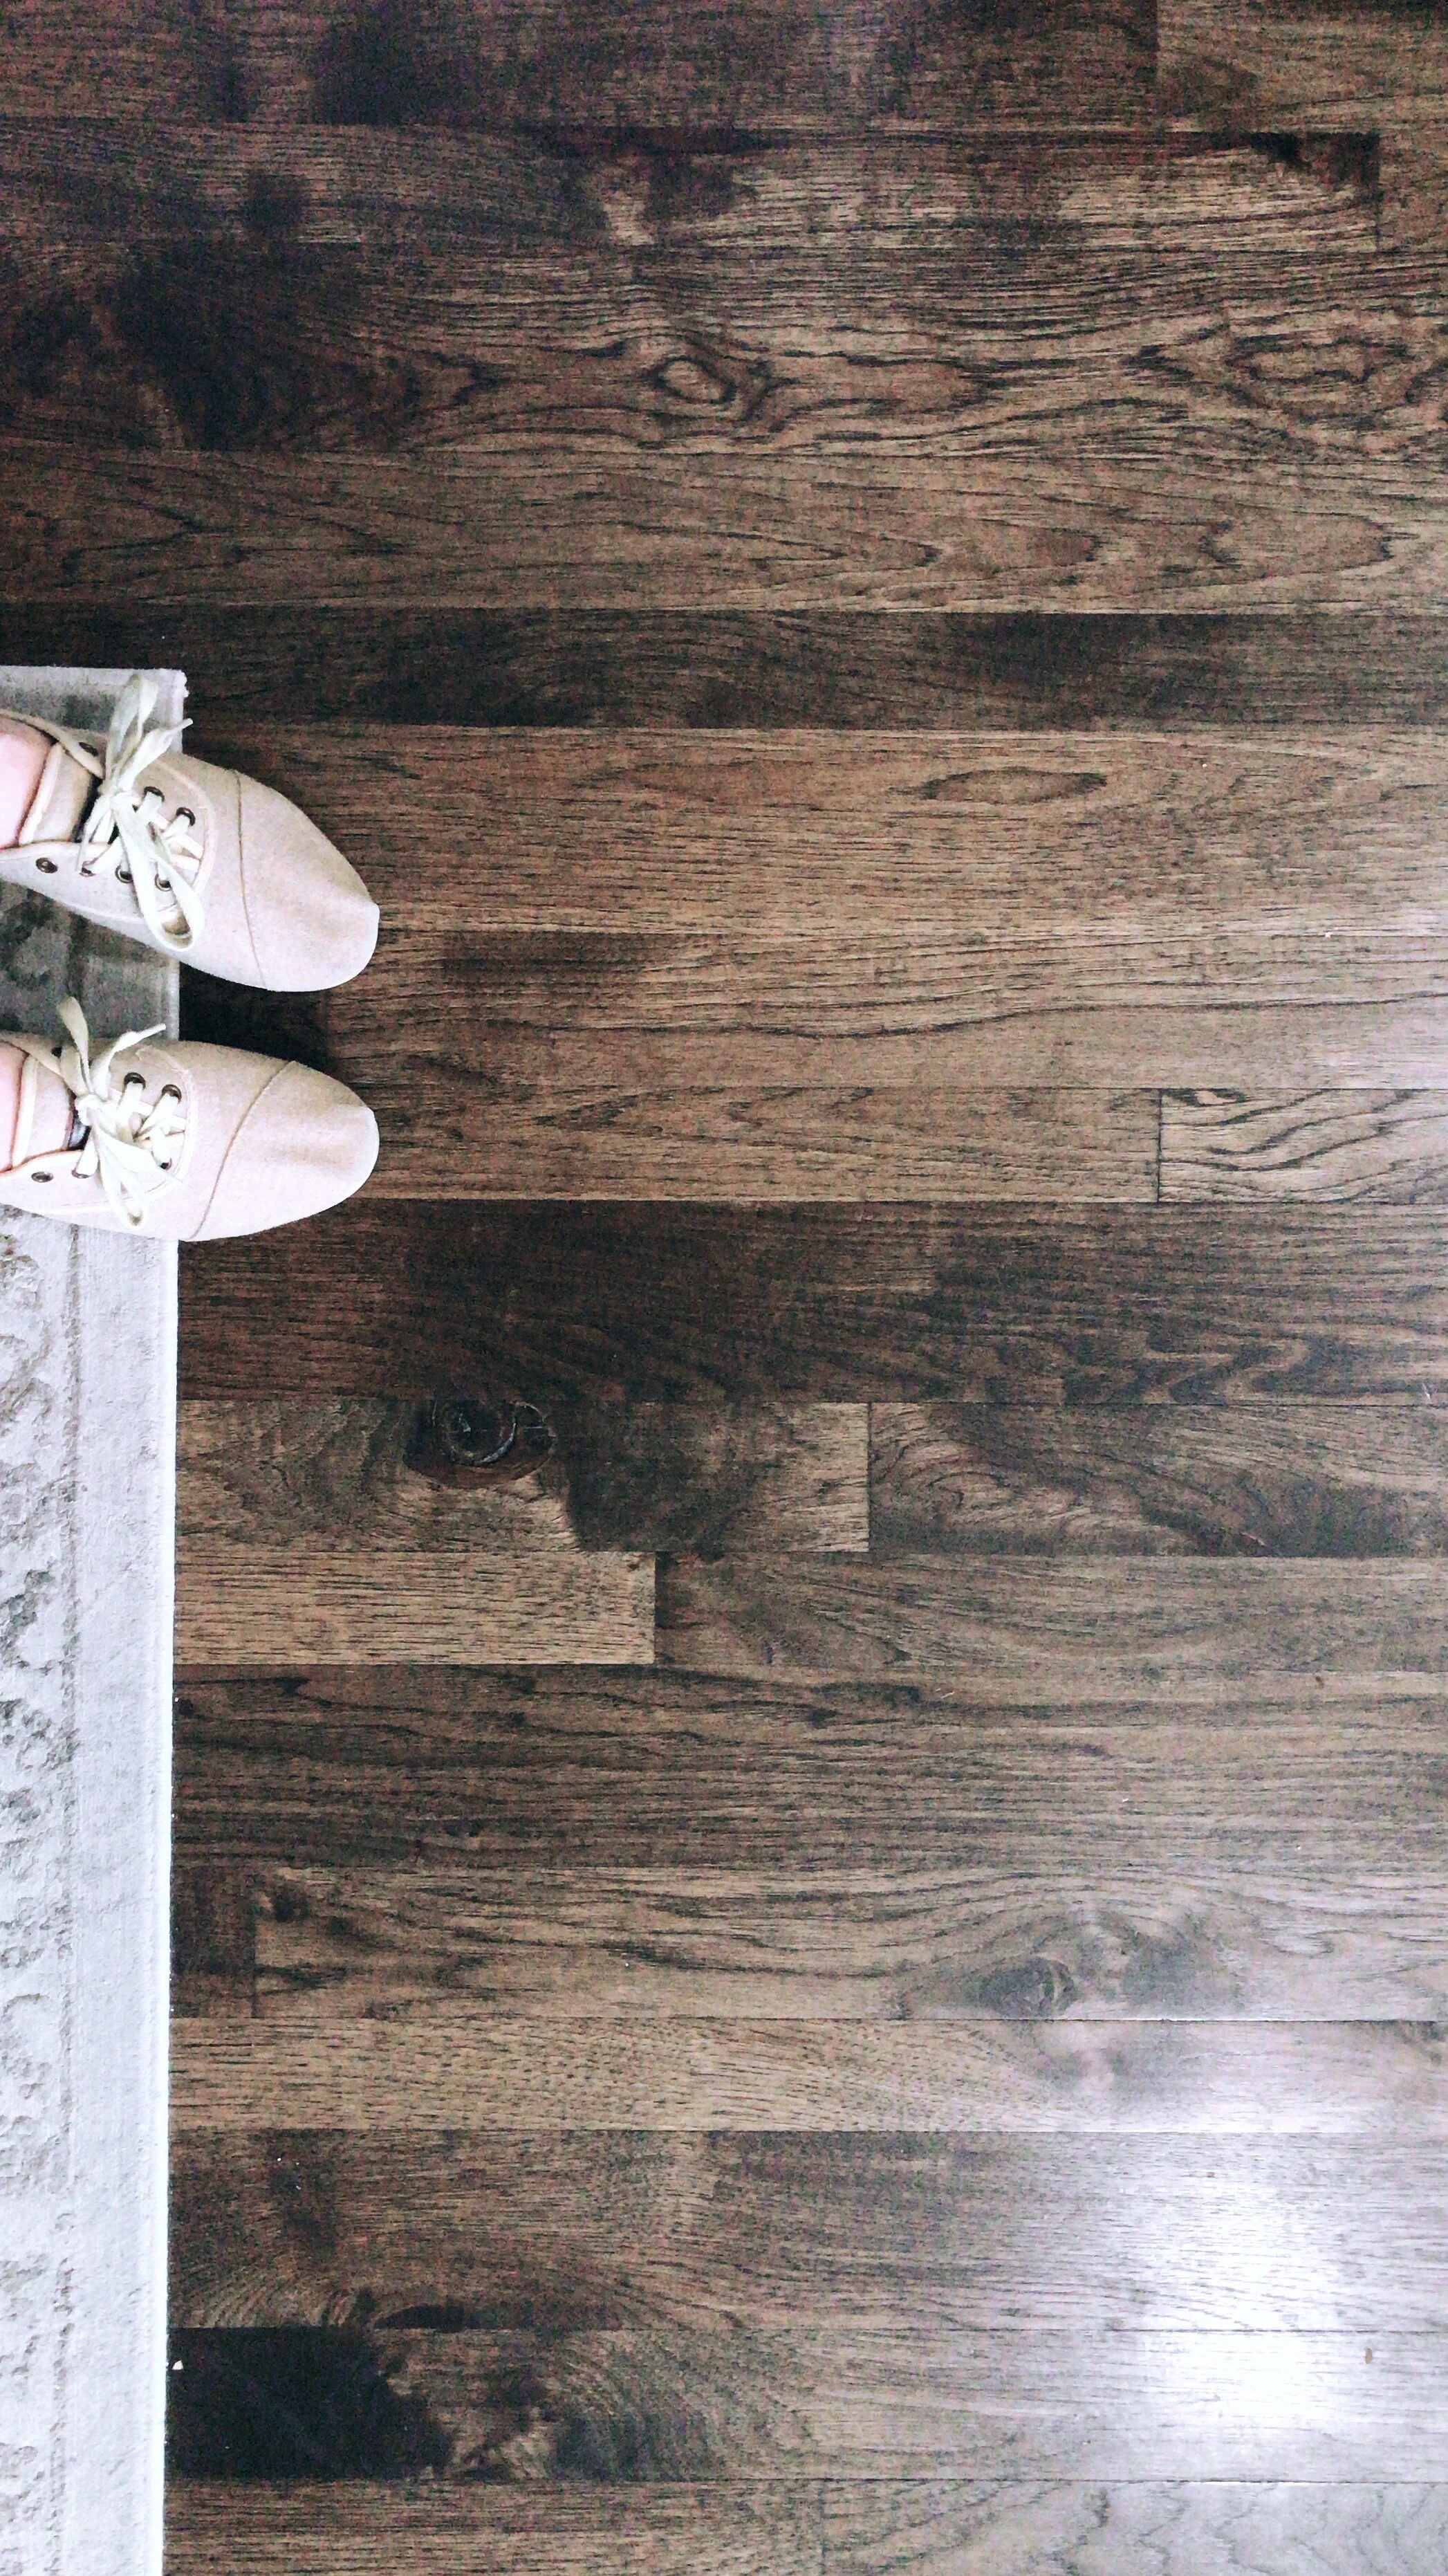
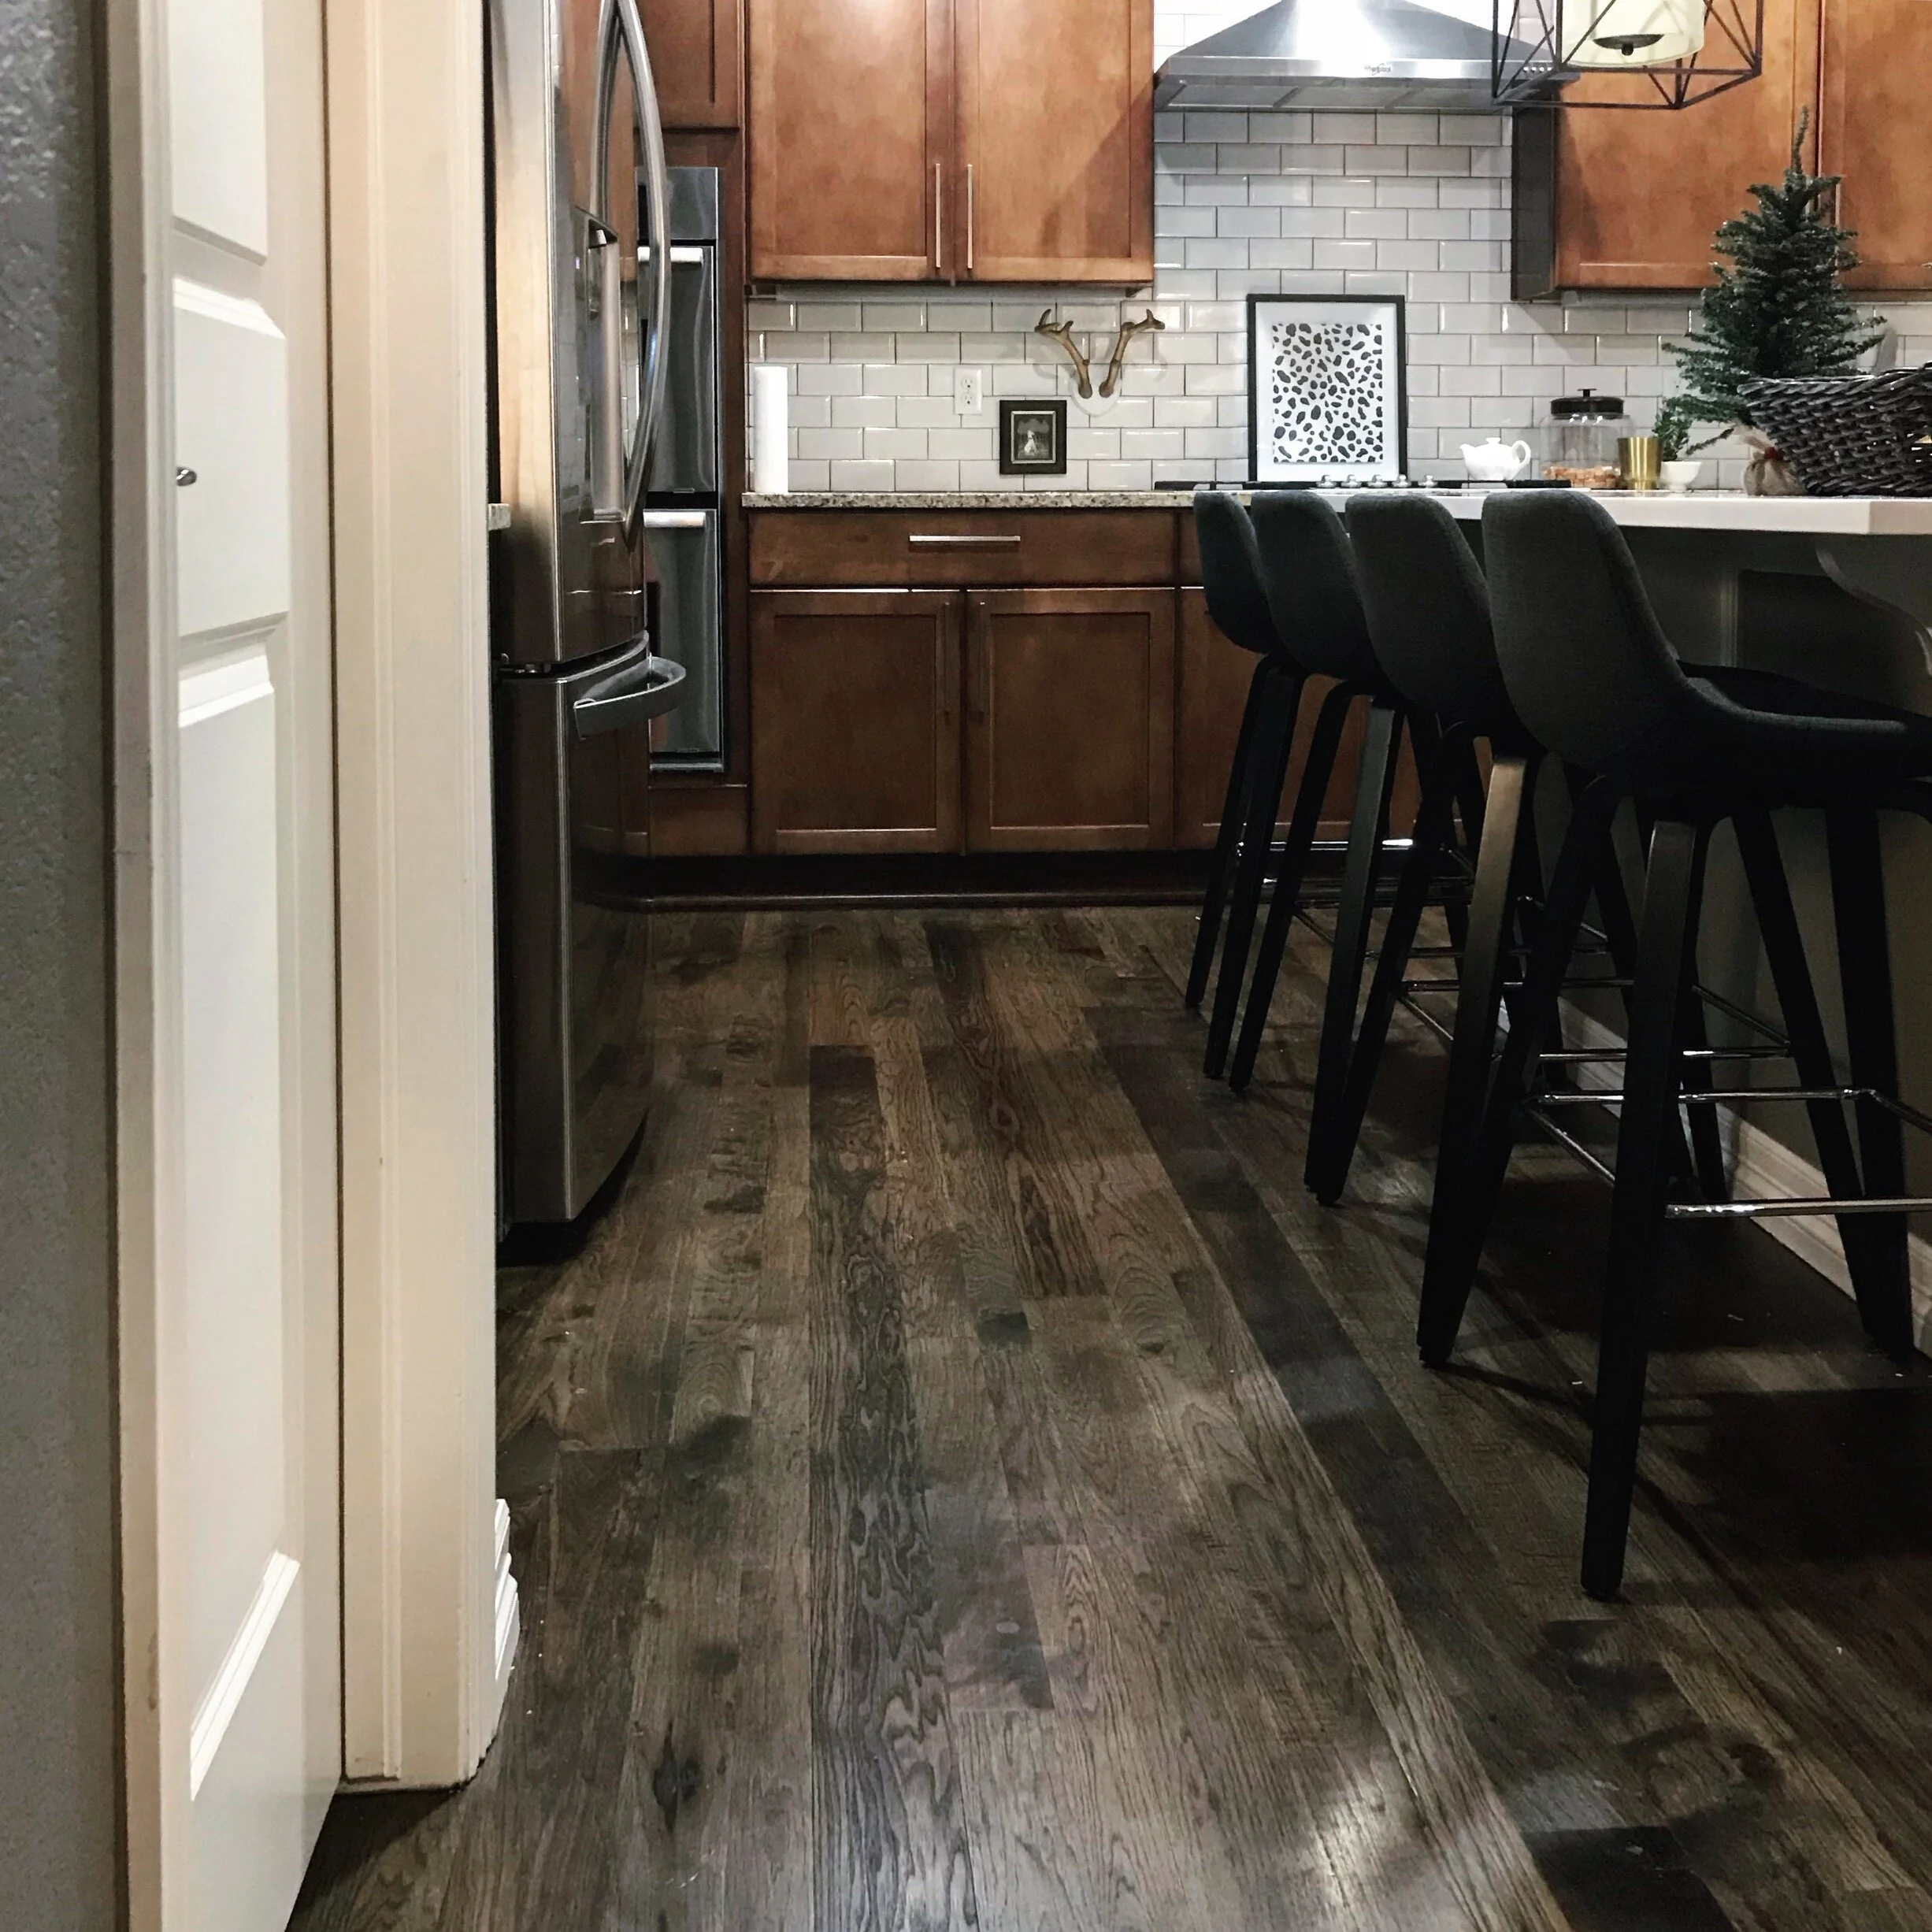
We were having kids and decided that we wanted to focus on durability as they grew up so, we selected a harder wood species than the typical red oak. We went with Hickory! And we looooove it. We also decided to invest in solid all hardwood vs engineered. (GASP—I know, right!!?) Now, engineered hardwoods have really improved over the last 8 years, both in durability and style but I’d bet that if we were to do it again, today…we’d likely still select solid hardwoods. The main reasons? 1.) We liked the idea of having these floors last as long as the house; like you’d find in an 1920s home with original wood floors, today. The floors have held up exceedingly well, with trivial unnoticeable scratching to date. 2.) When/if we redo them, since they are solid hardwood, they can be refinished and re-stained several times before ever needing replaced. We wanted the opportunity to re-stain the floors in the future to change the look without having to install new floors altogether.
Carpet
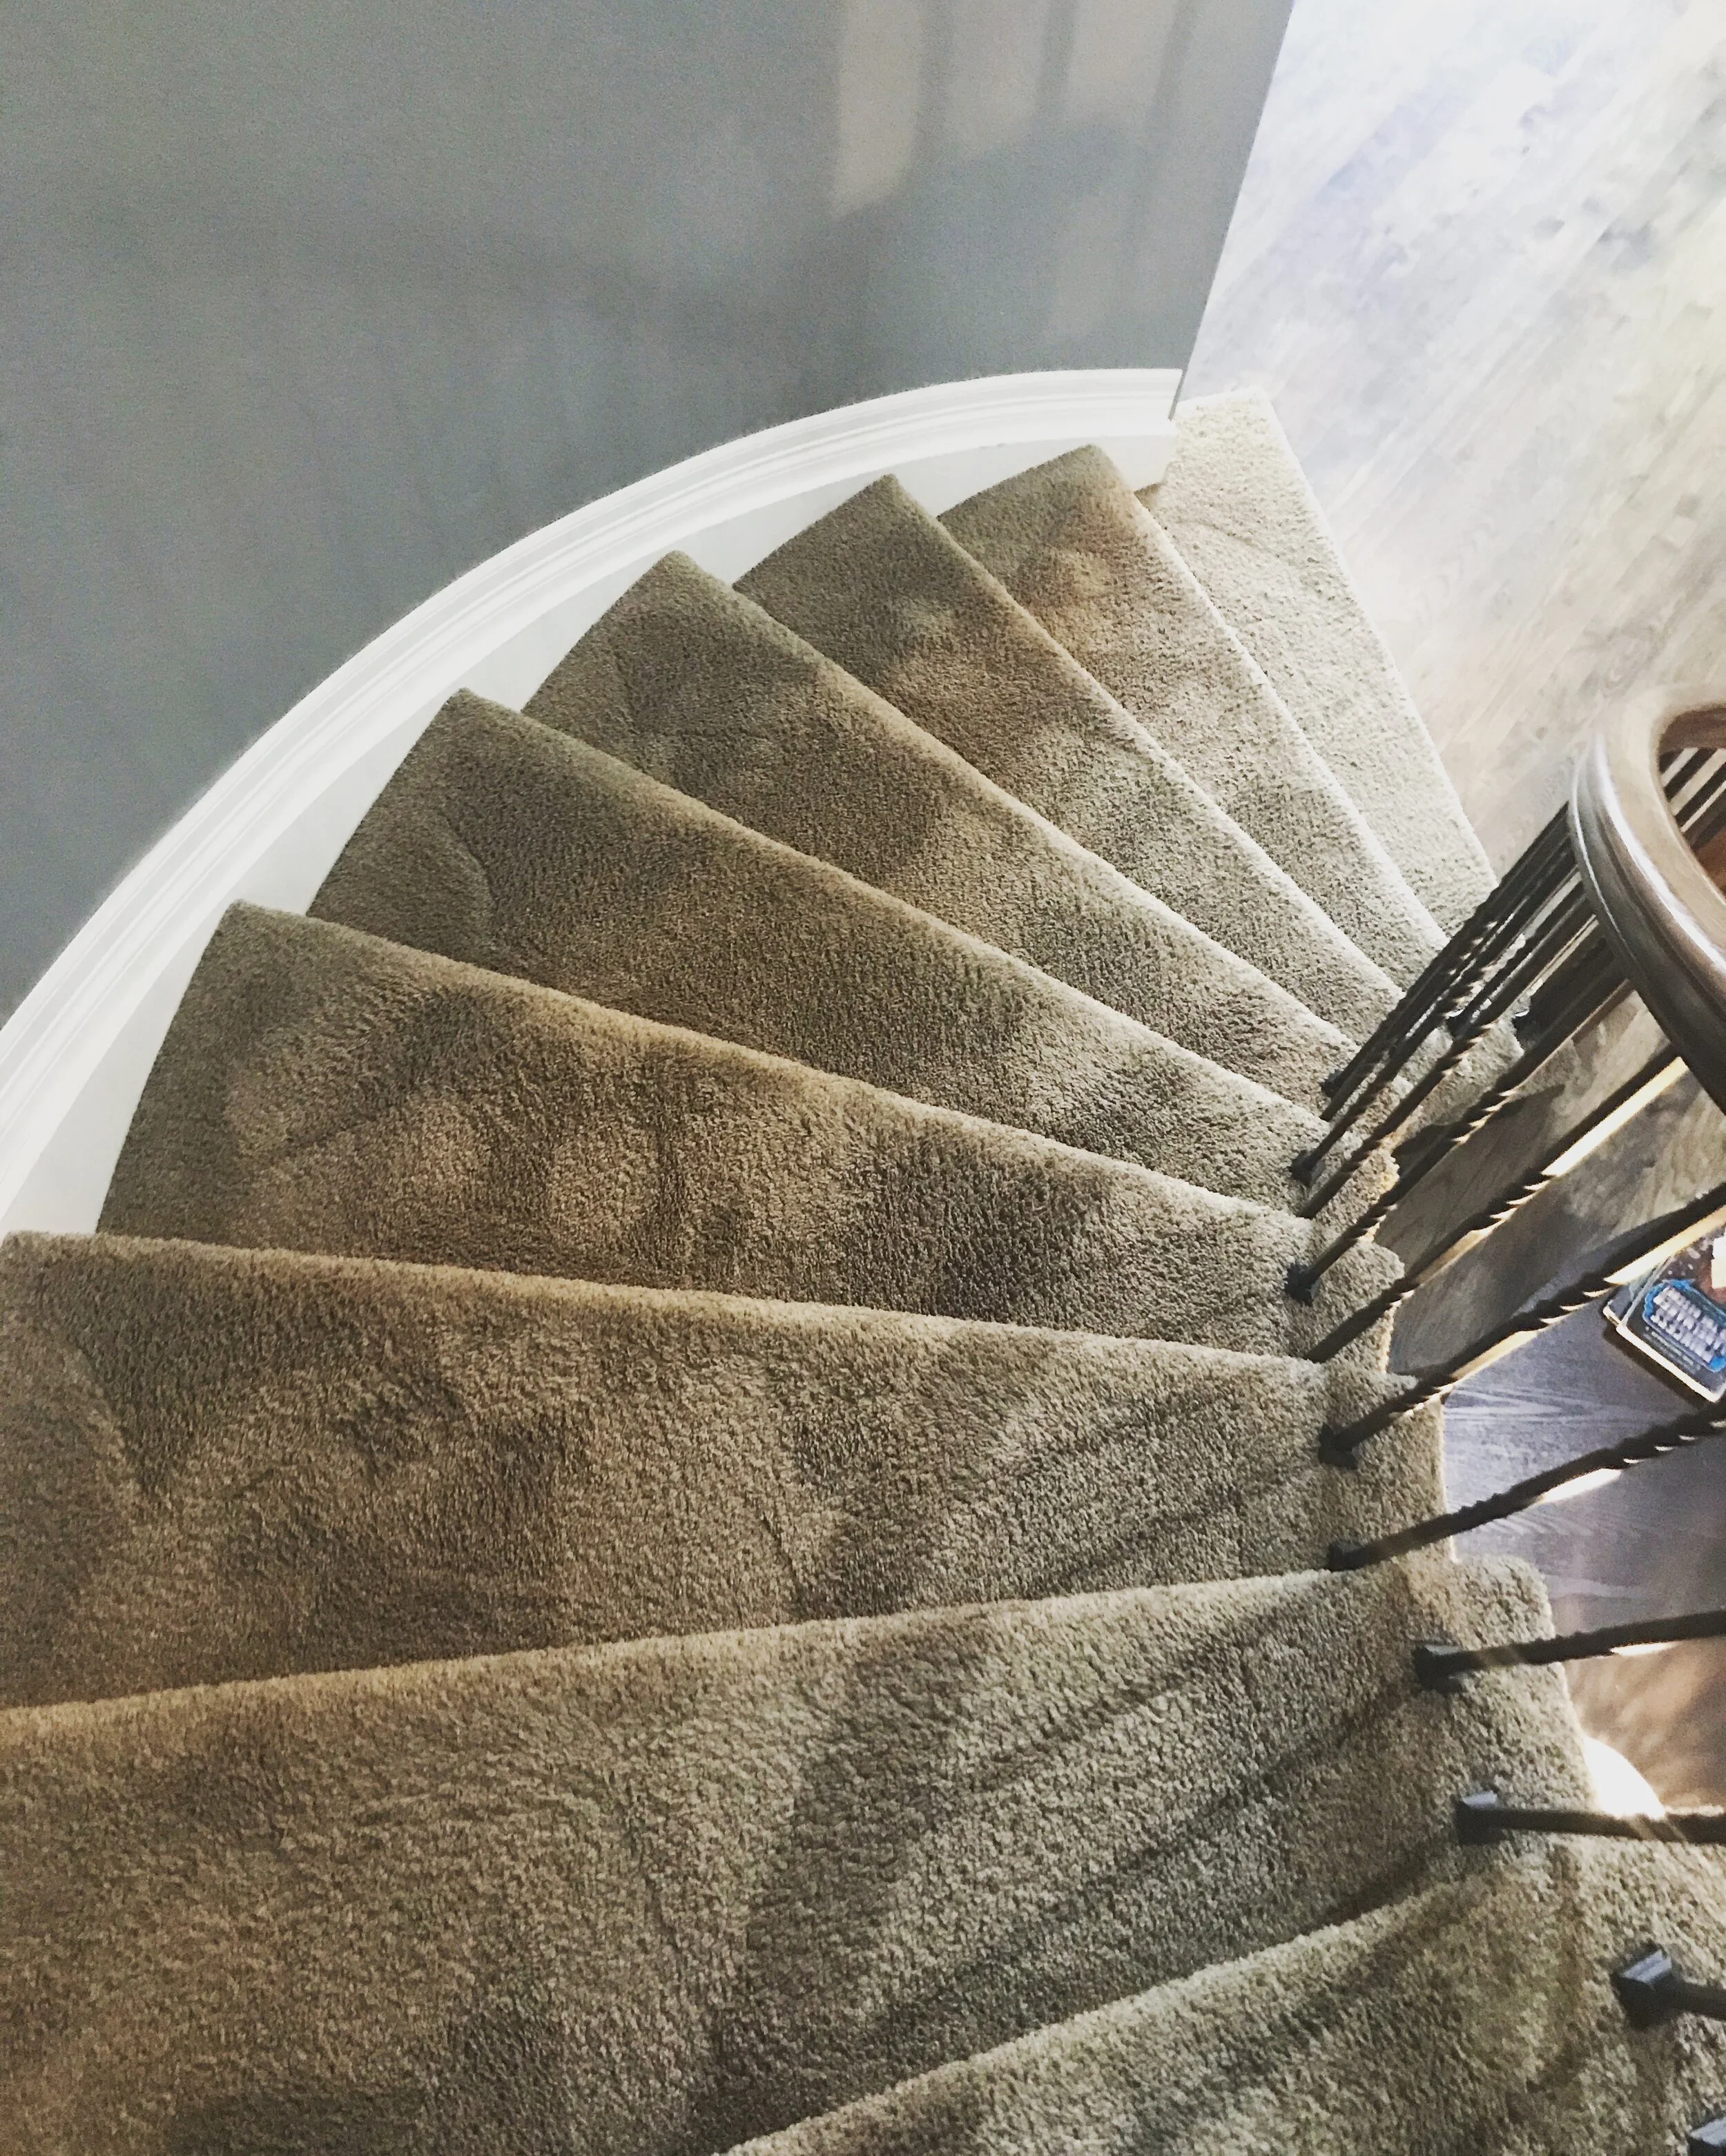
For a cohesive look, we went with a carpet that was a similar tone but selected two styles. We intentionally invested in a higher end looking tone/tone patterned carpet for the main floor living room and bedroom since this is where most of the entertainment and guest-life happens. As for the rest? A plush carpet for the upstairs. What we did opt for, that I’d advise, is the upgraded carpet pad! We believe that this has extended the life of our carpet and certainly feels better under foot. An investment we’d gladly make again. We are just now reaching the point (with 3 kids) where the carpet needs to be re-stretched and replaced. So 8-10 year life span out of carpet (and it still looks great) I’d say was worth it! Upgrade that pad if you can!
Tile
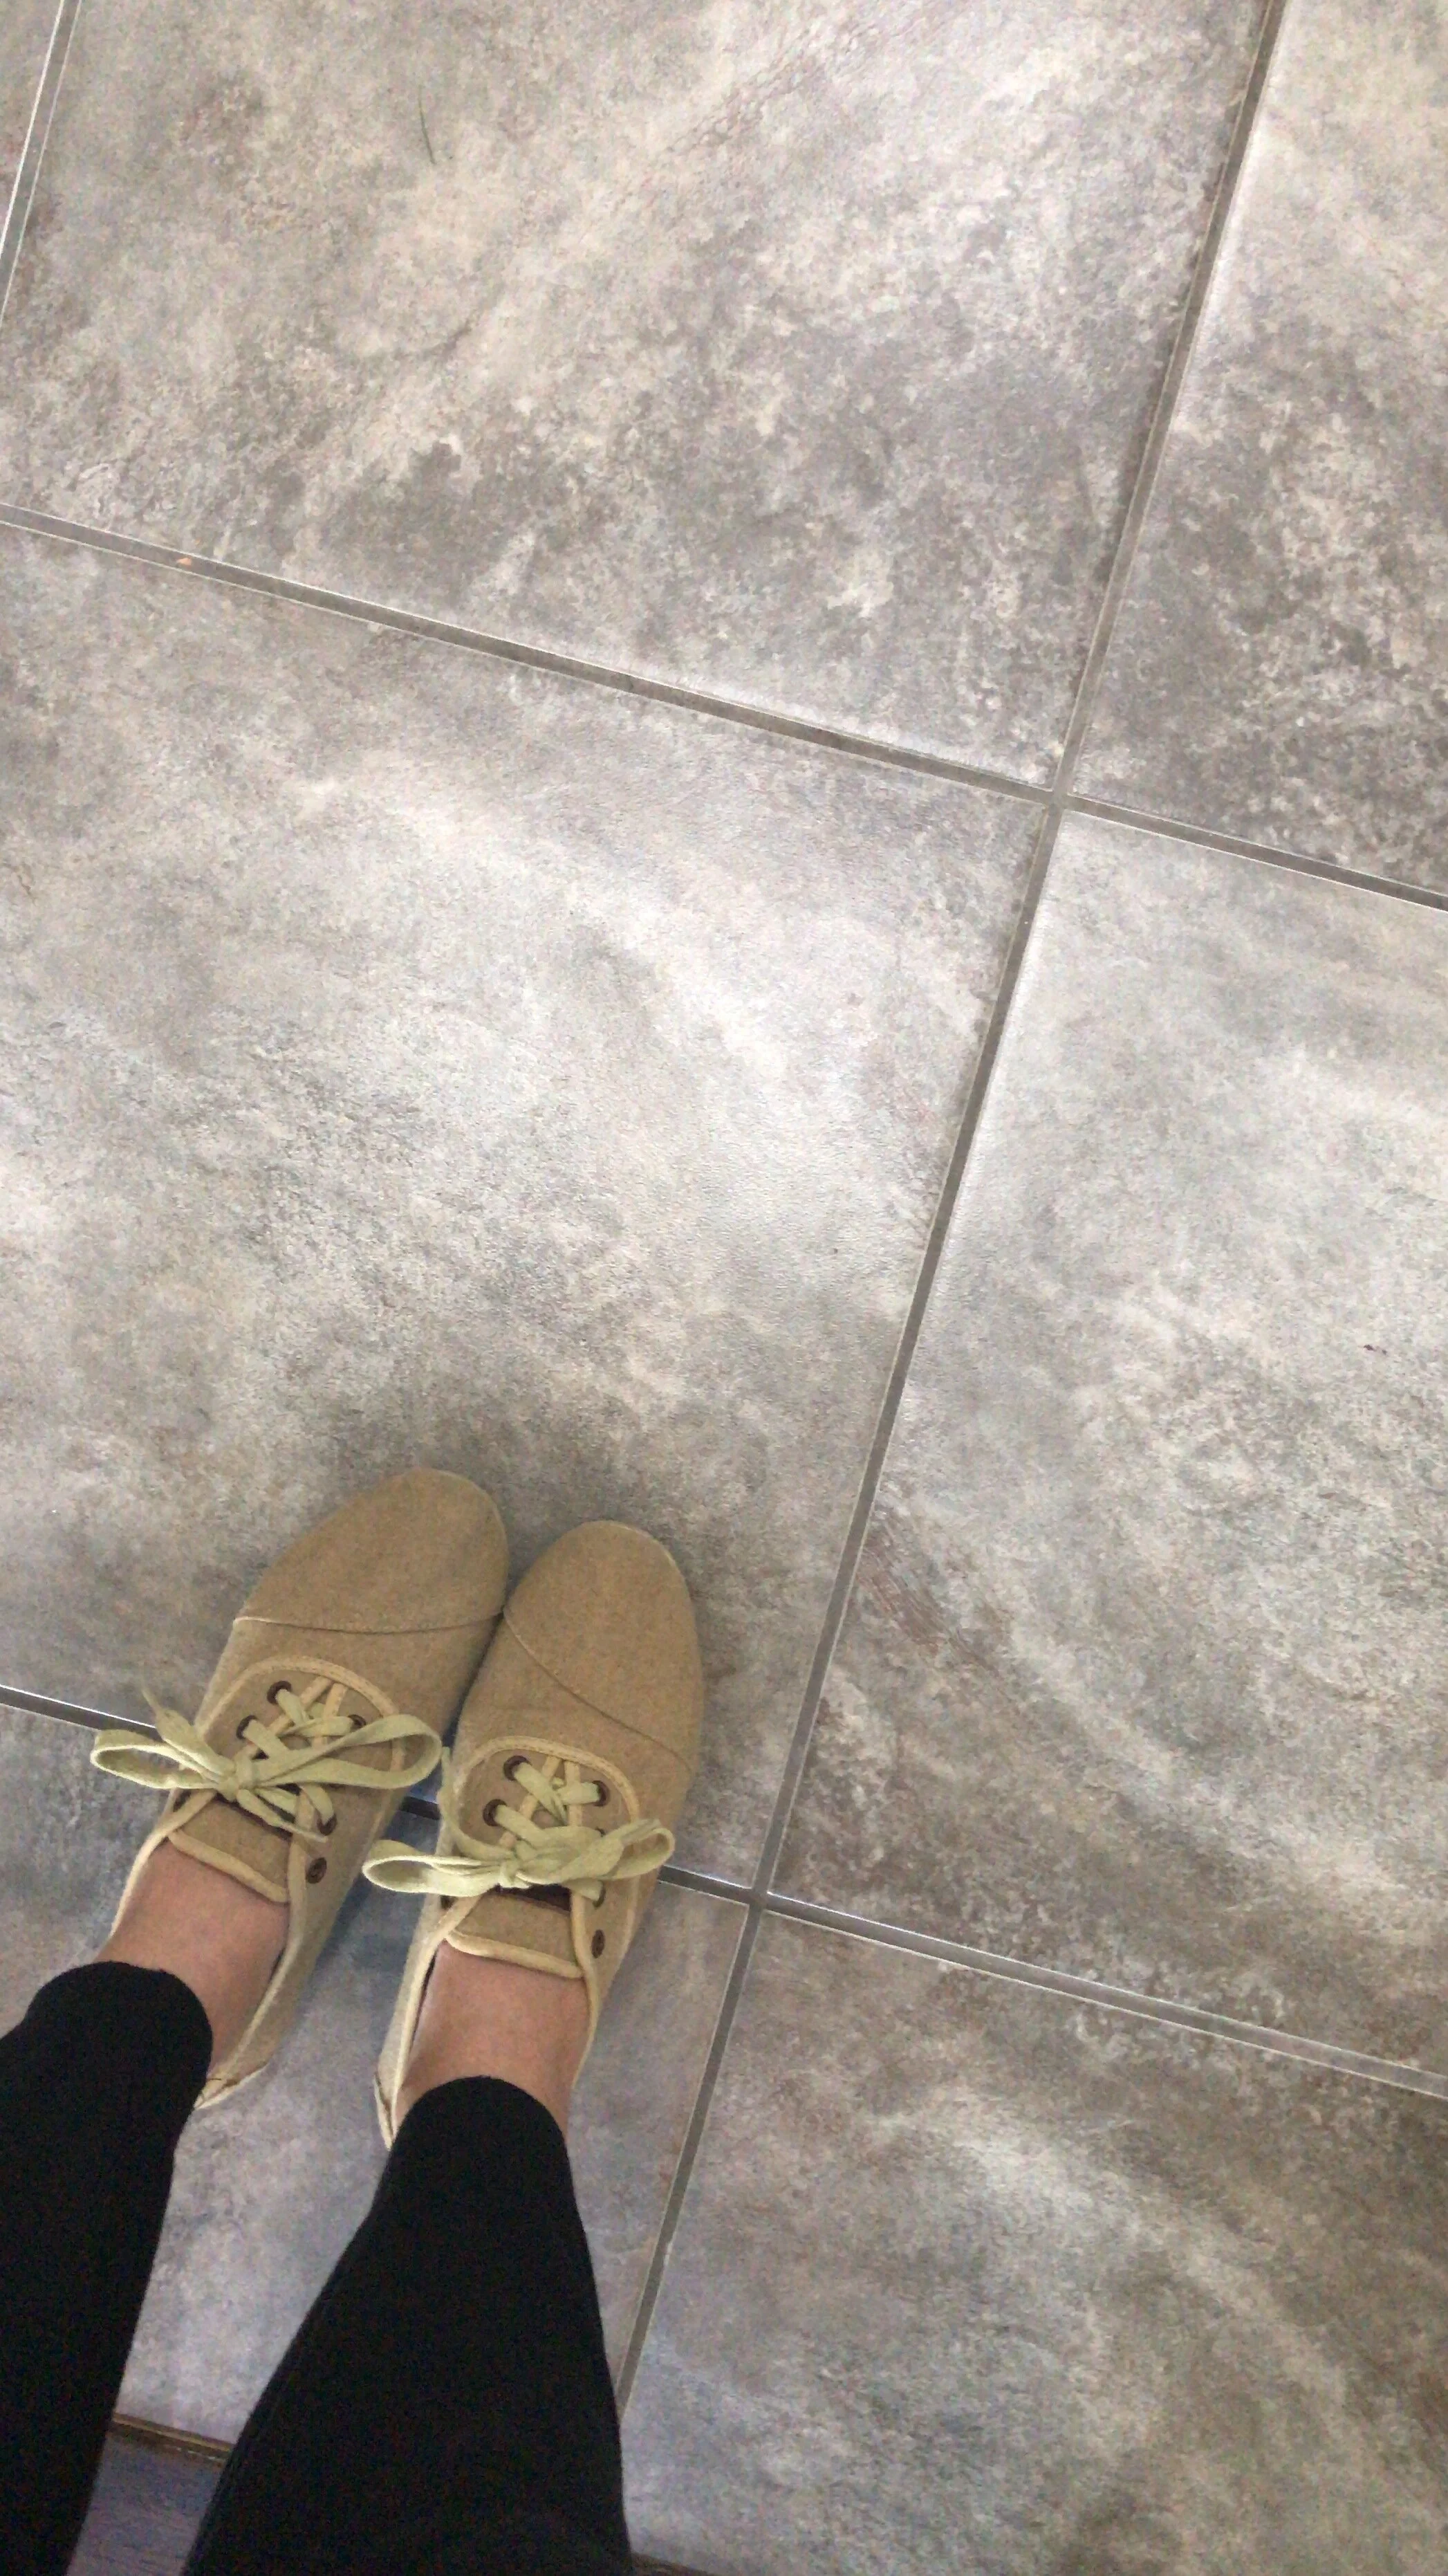
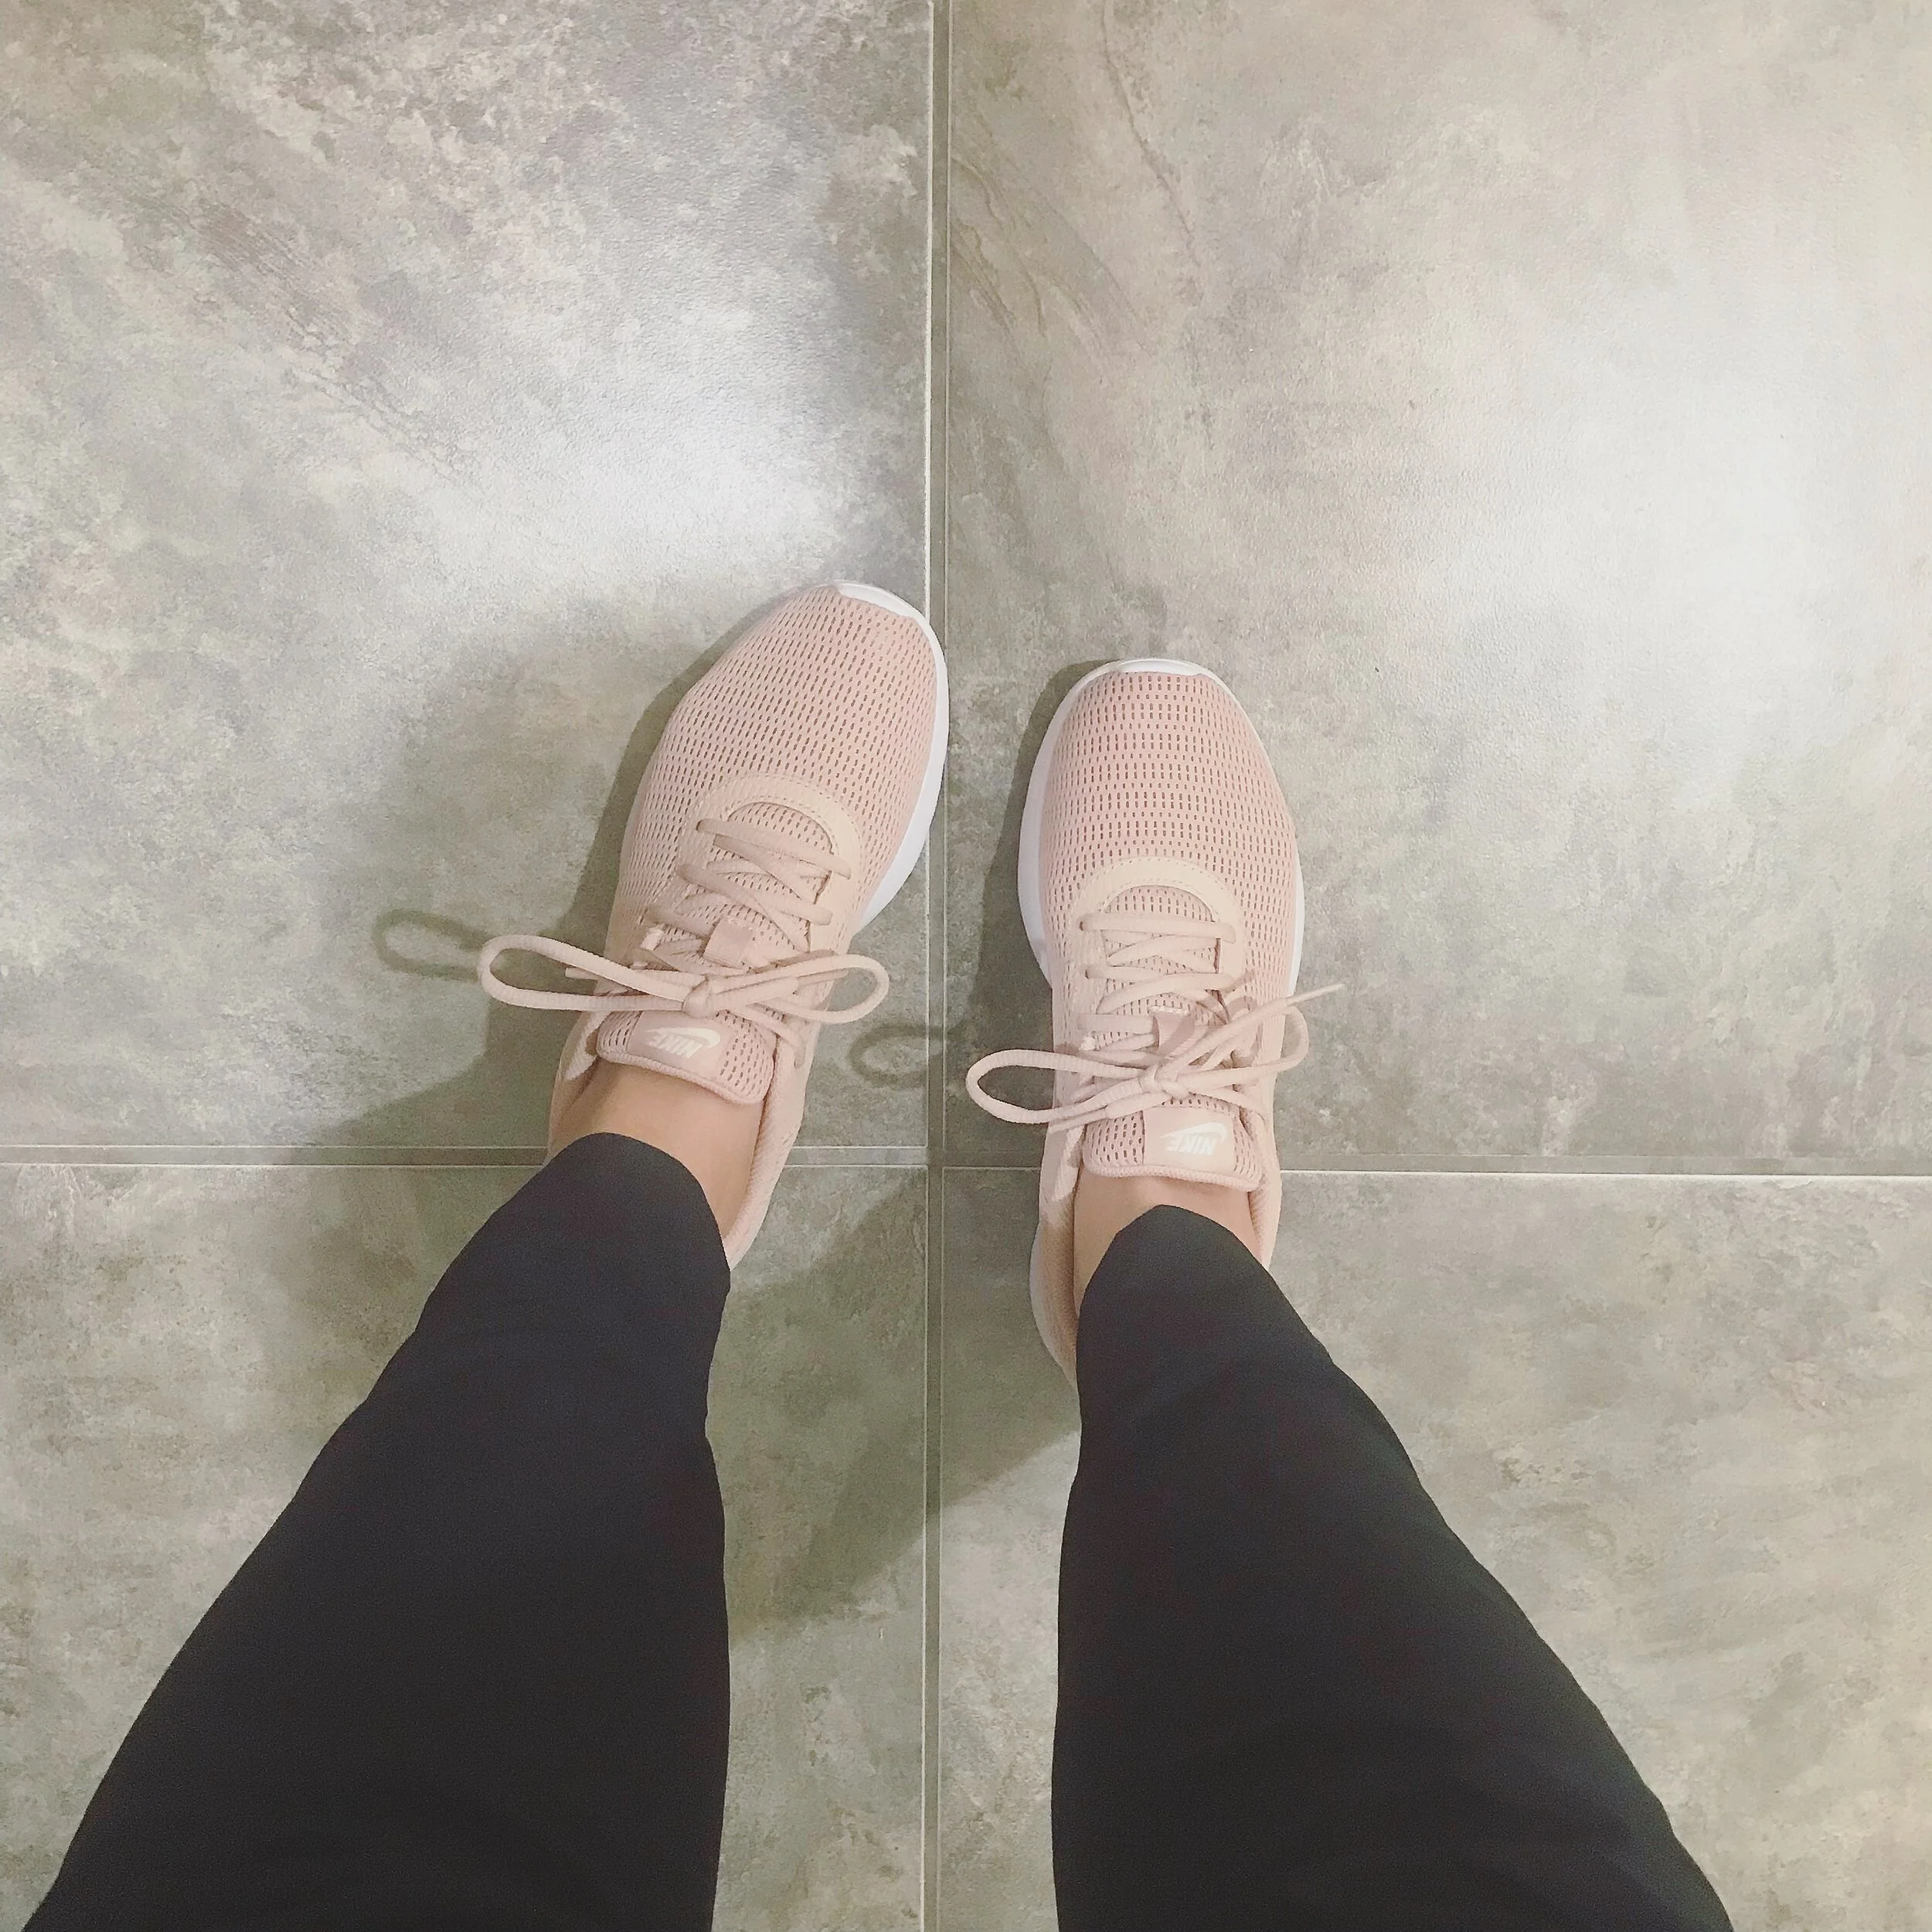
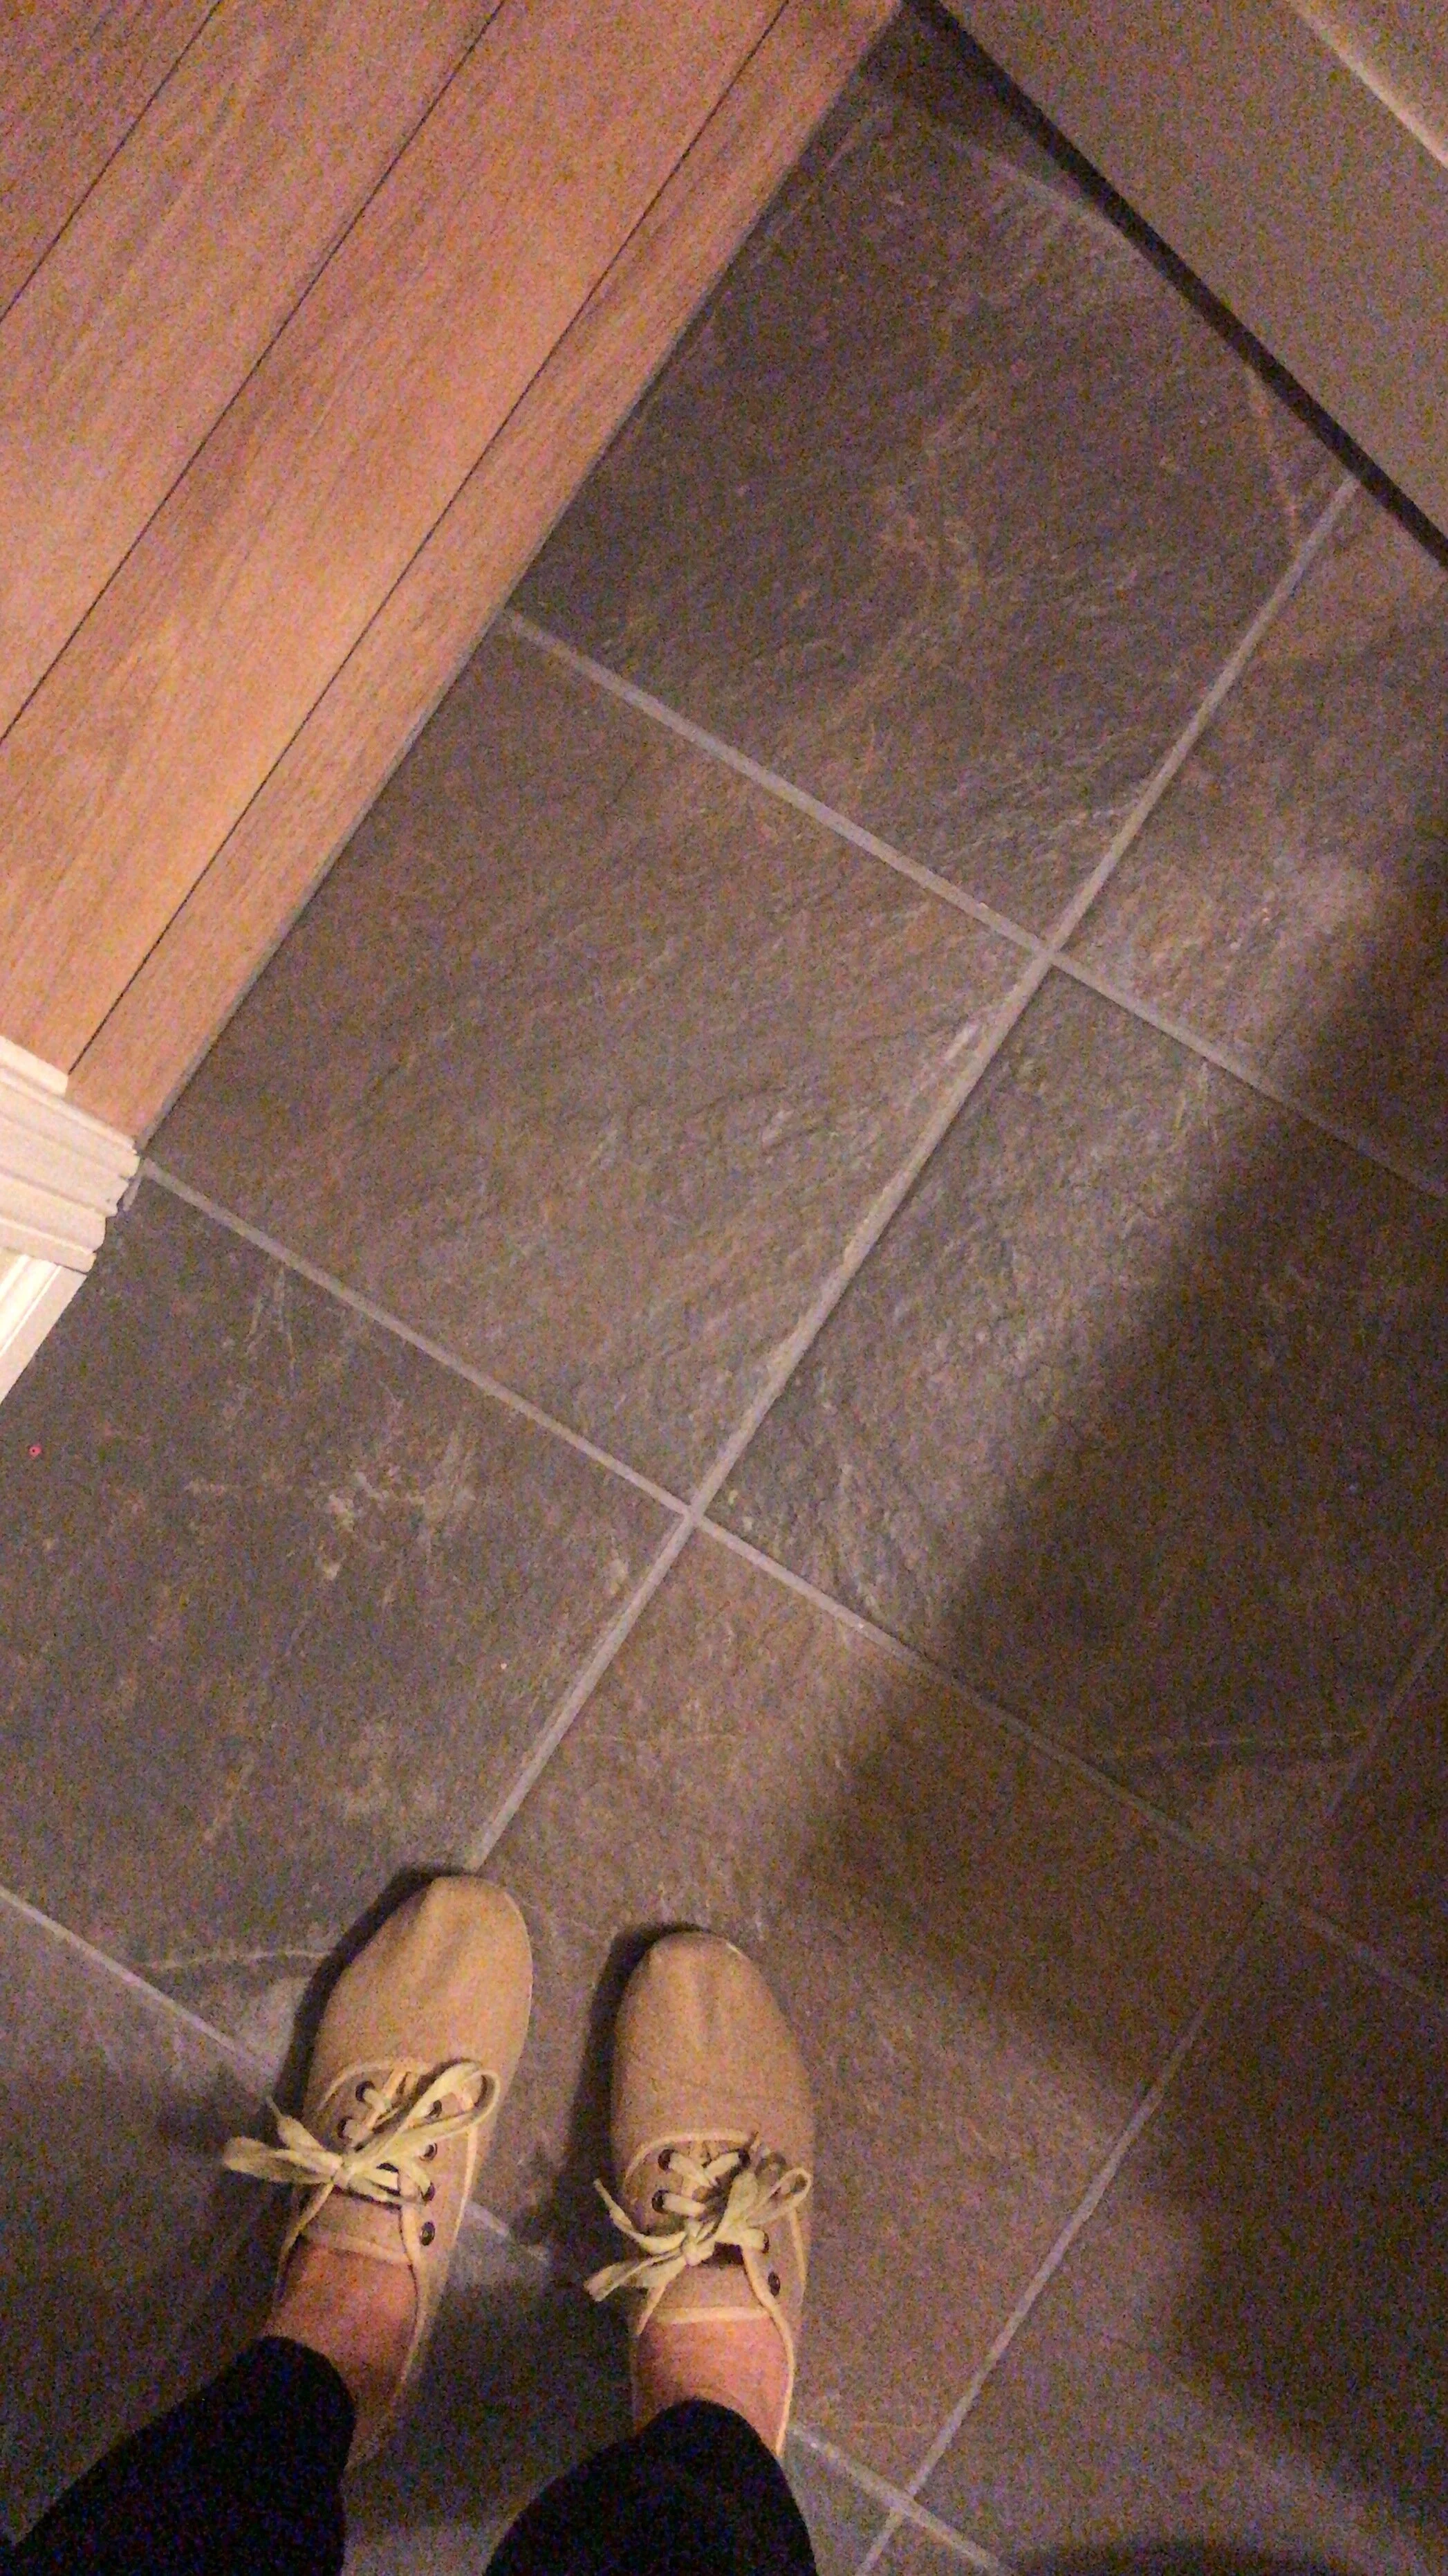
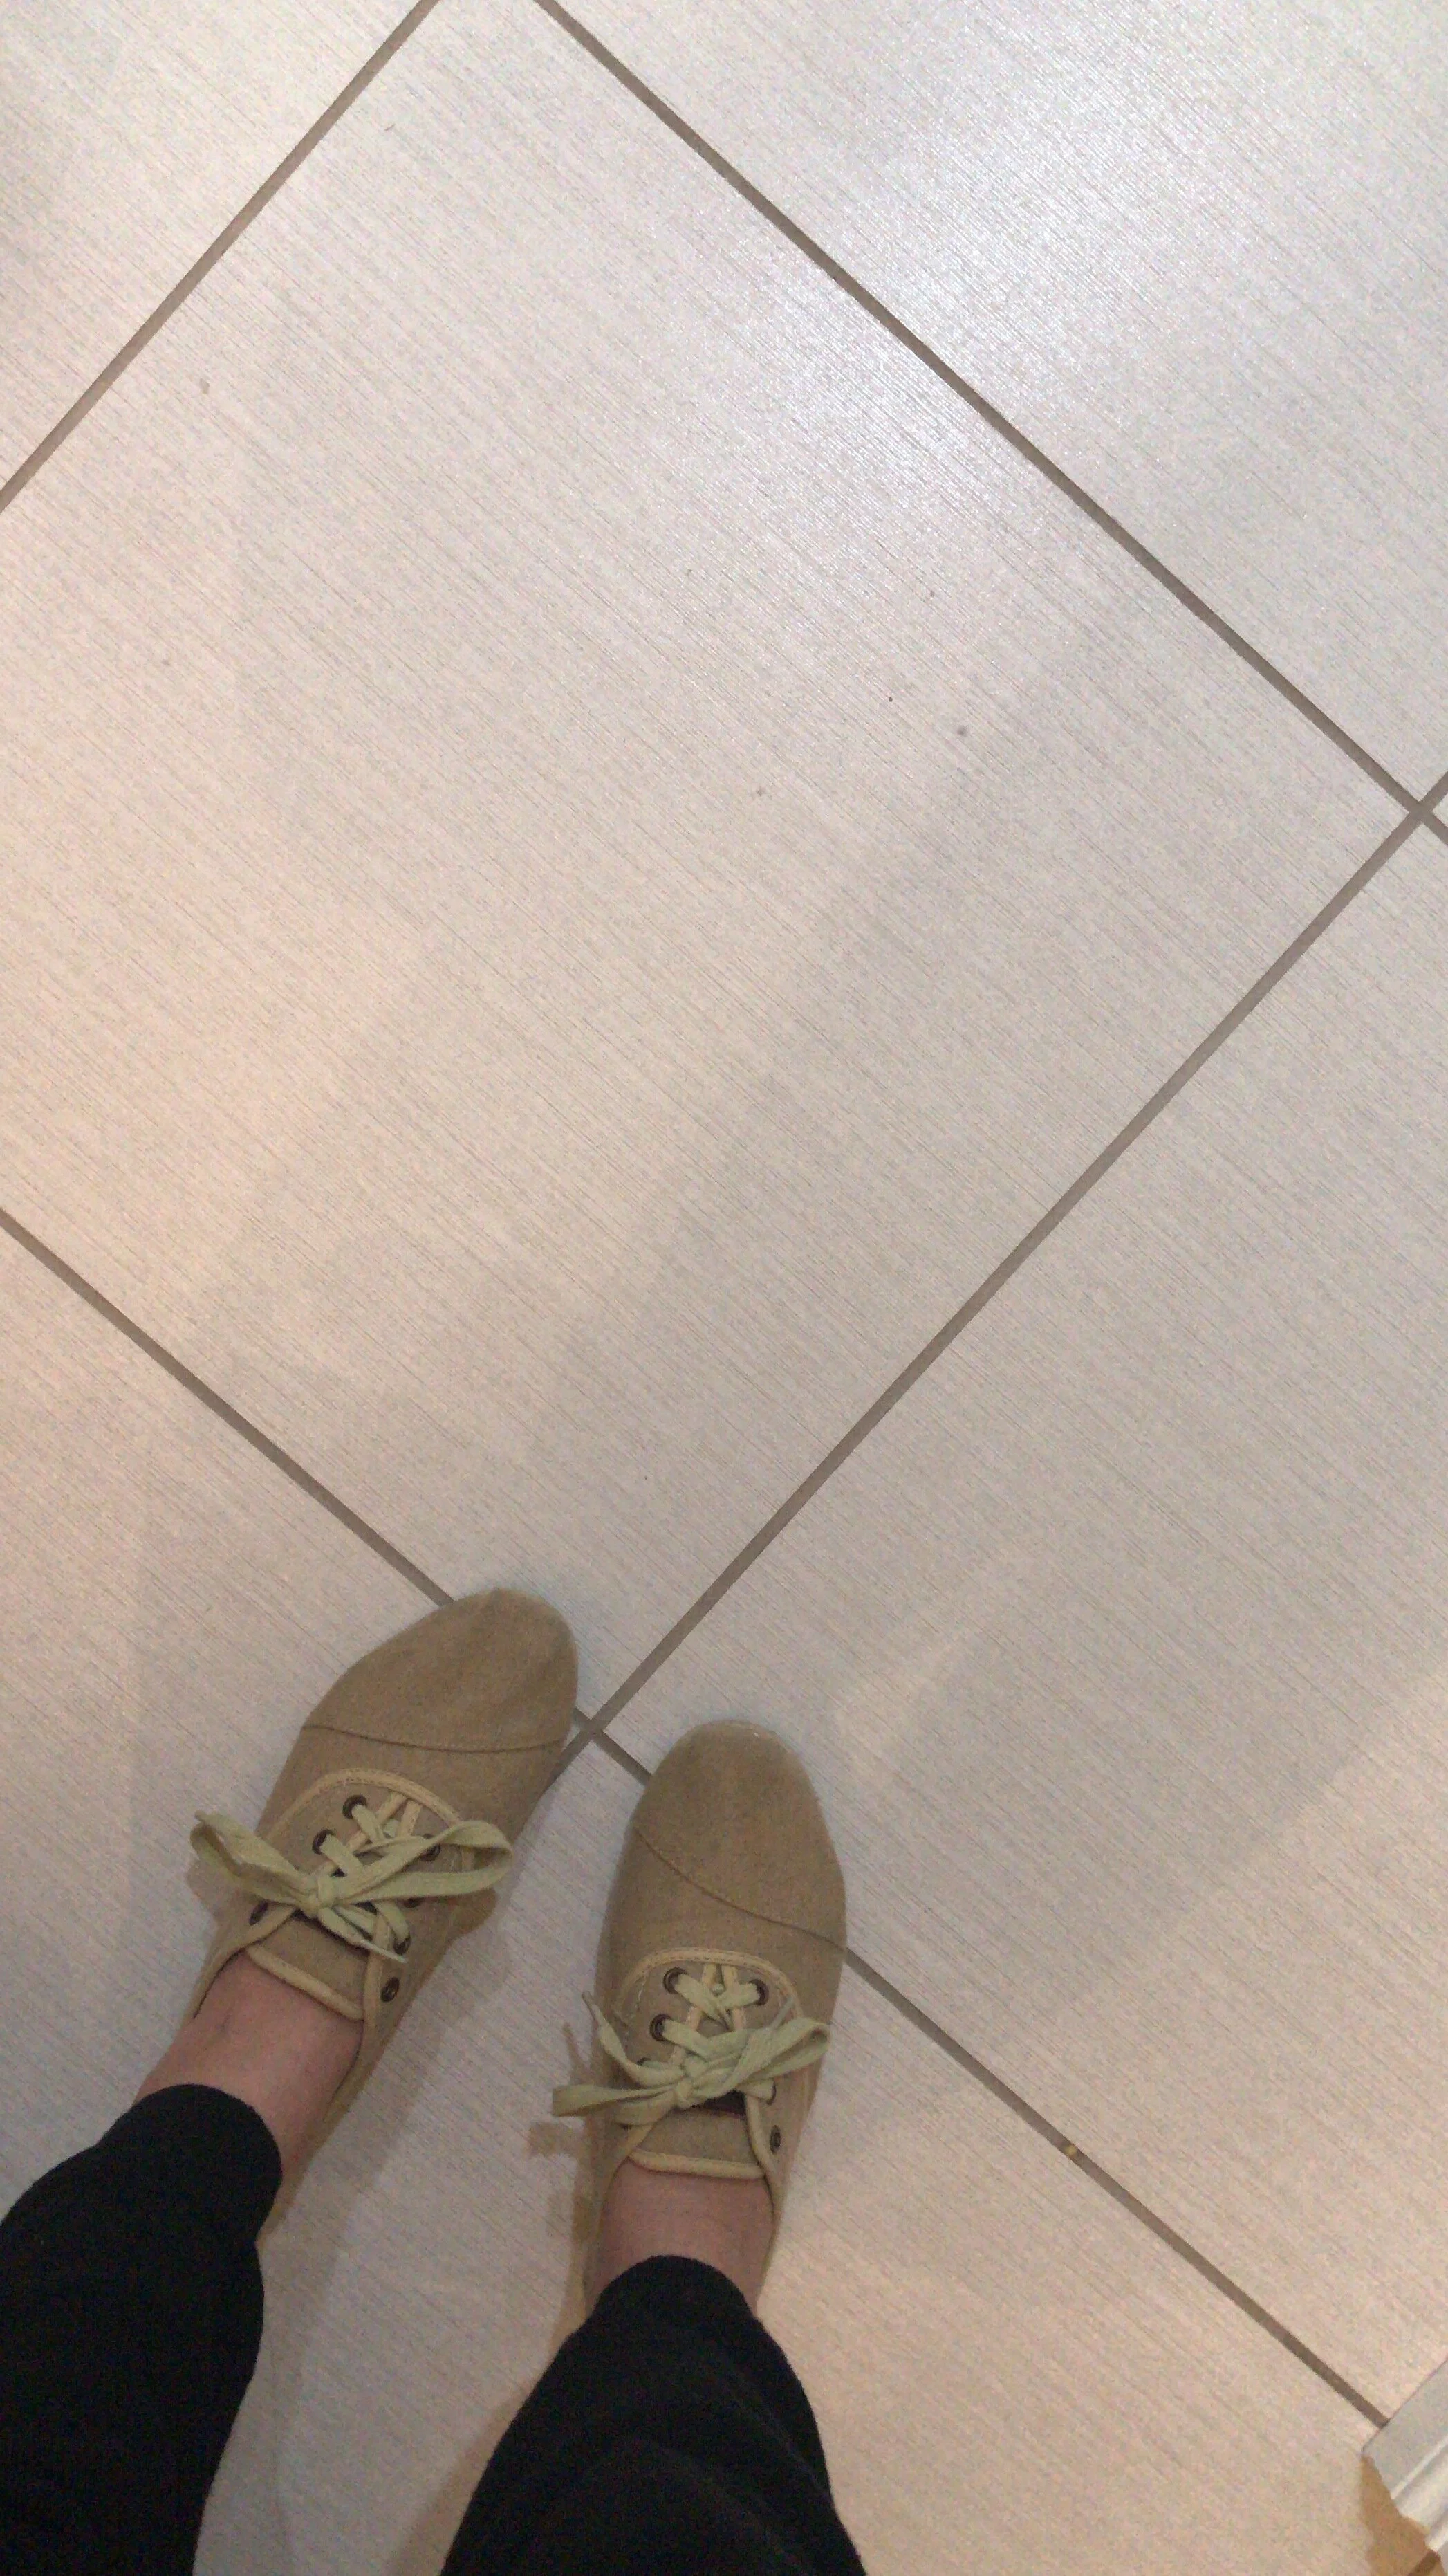
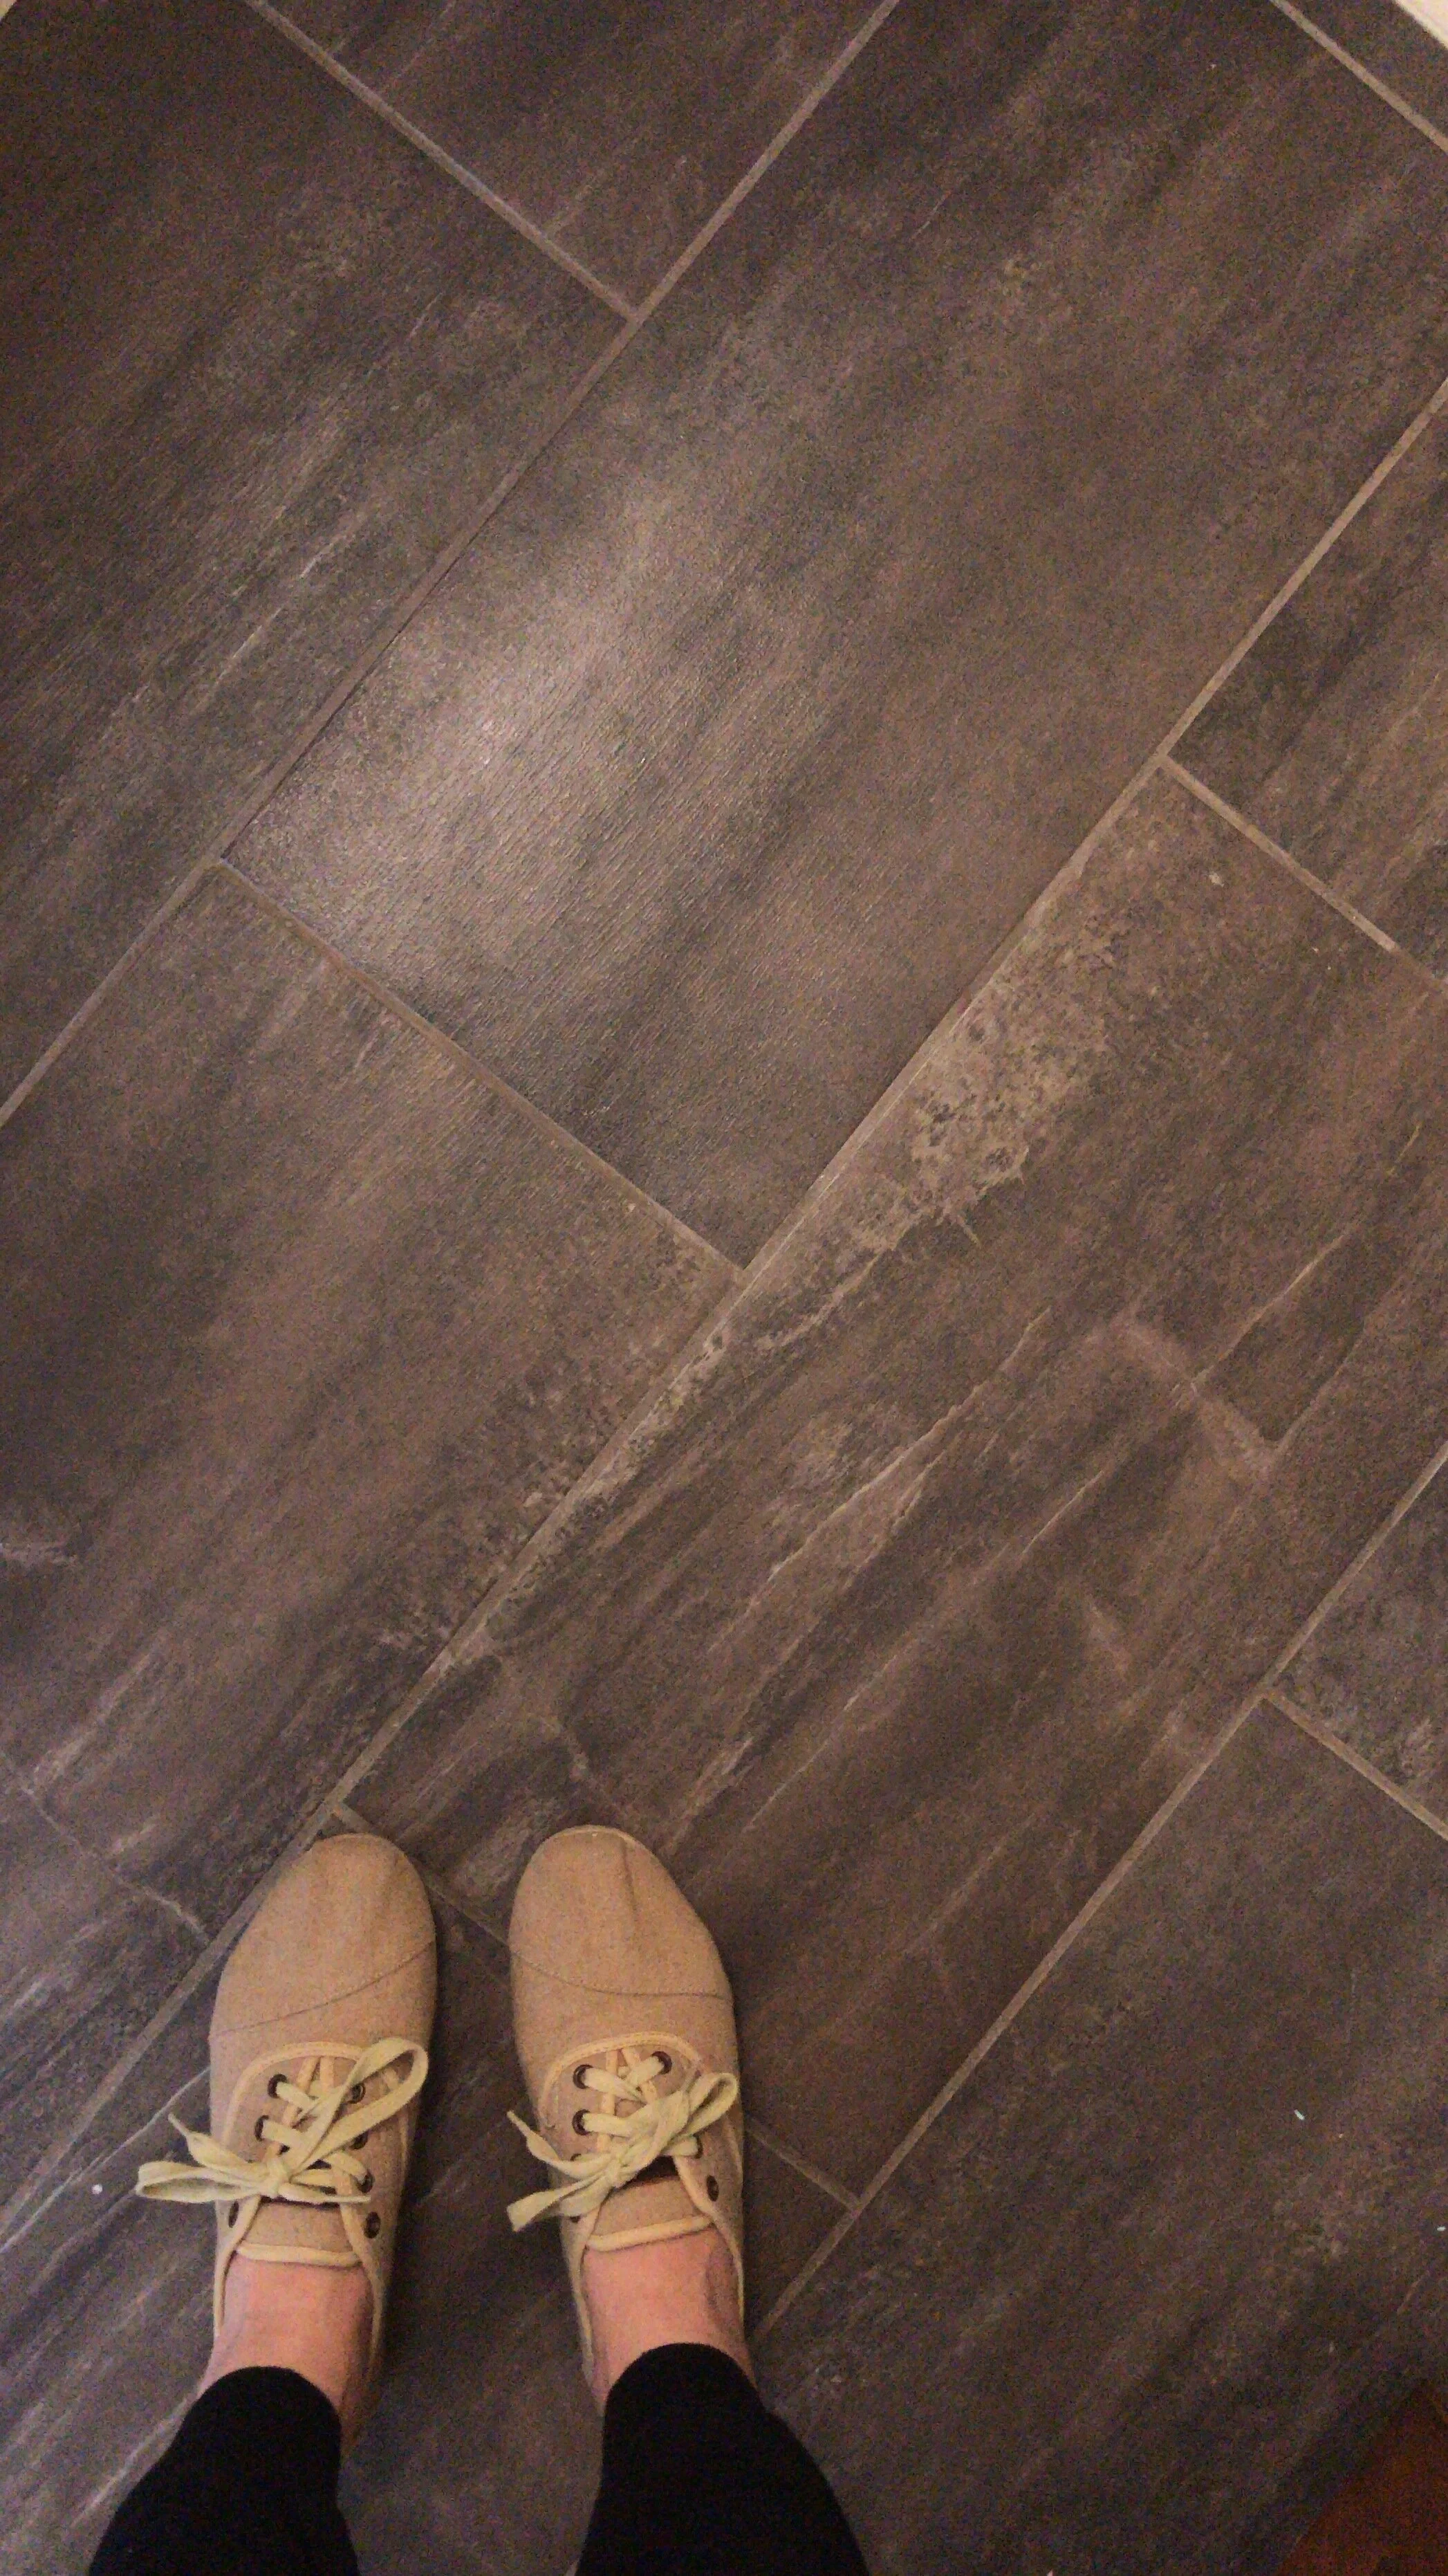
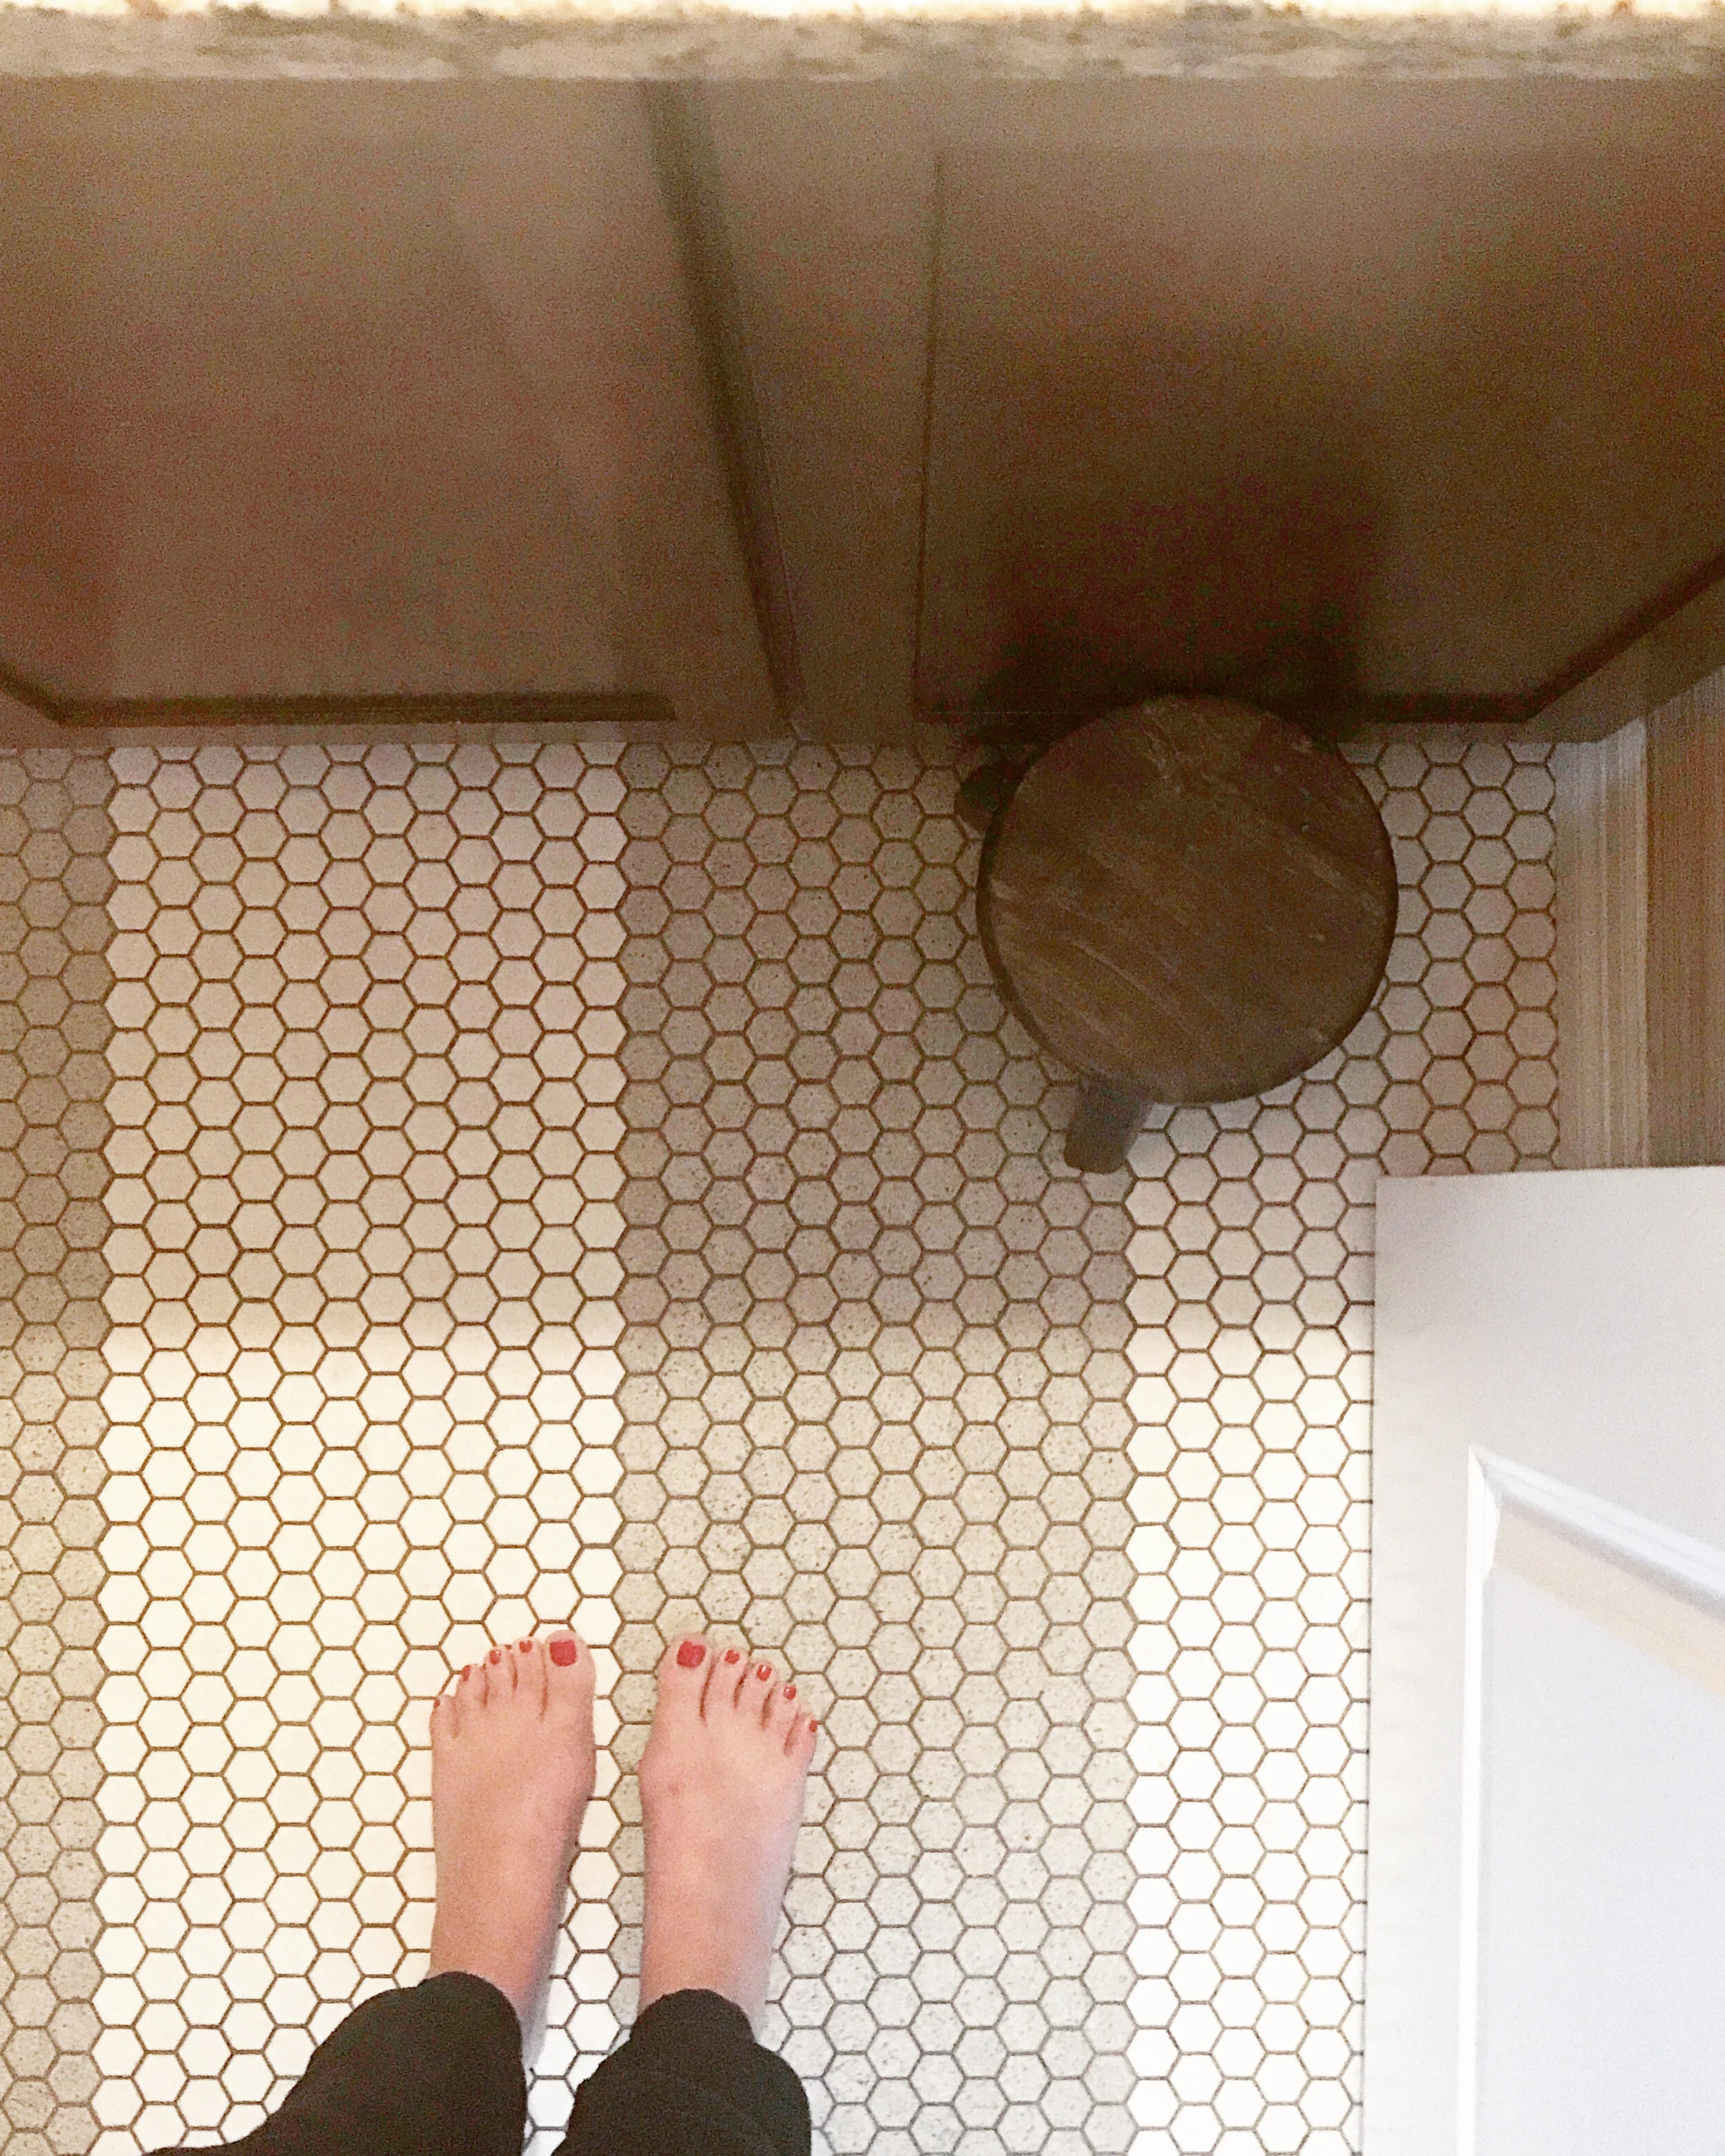
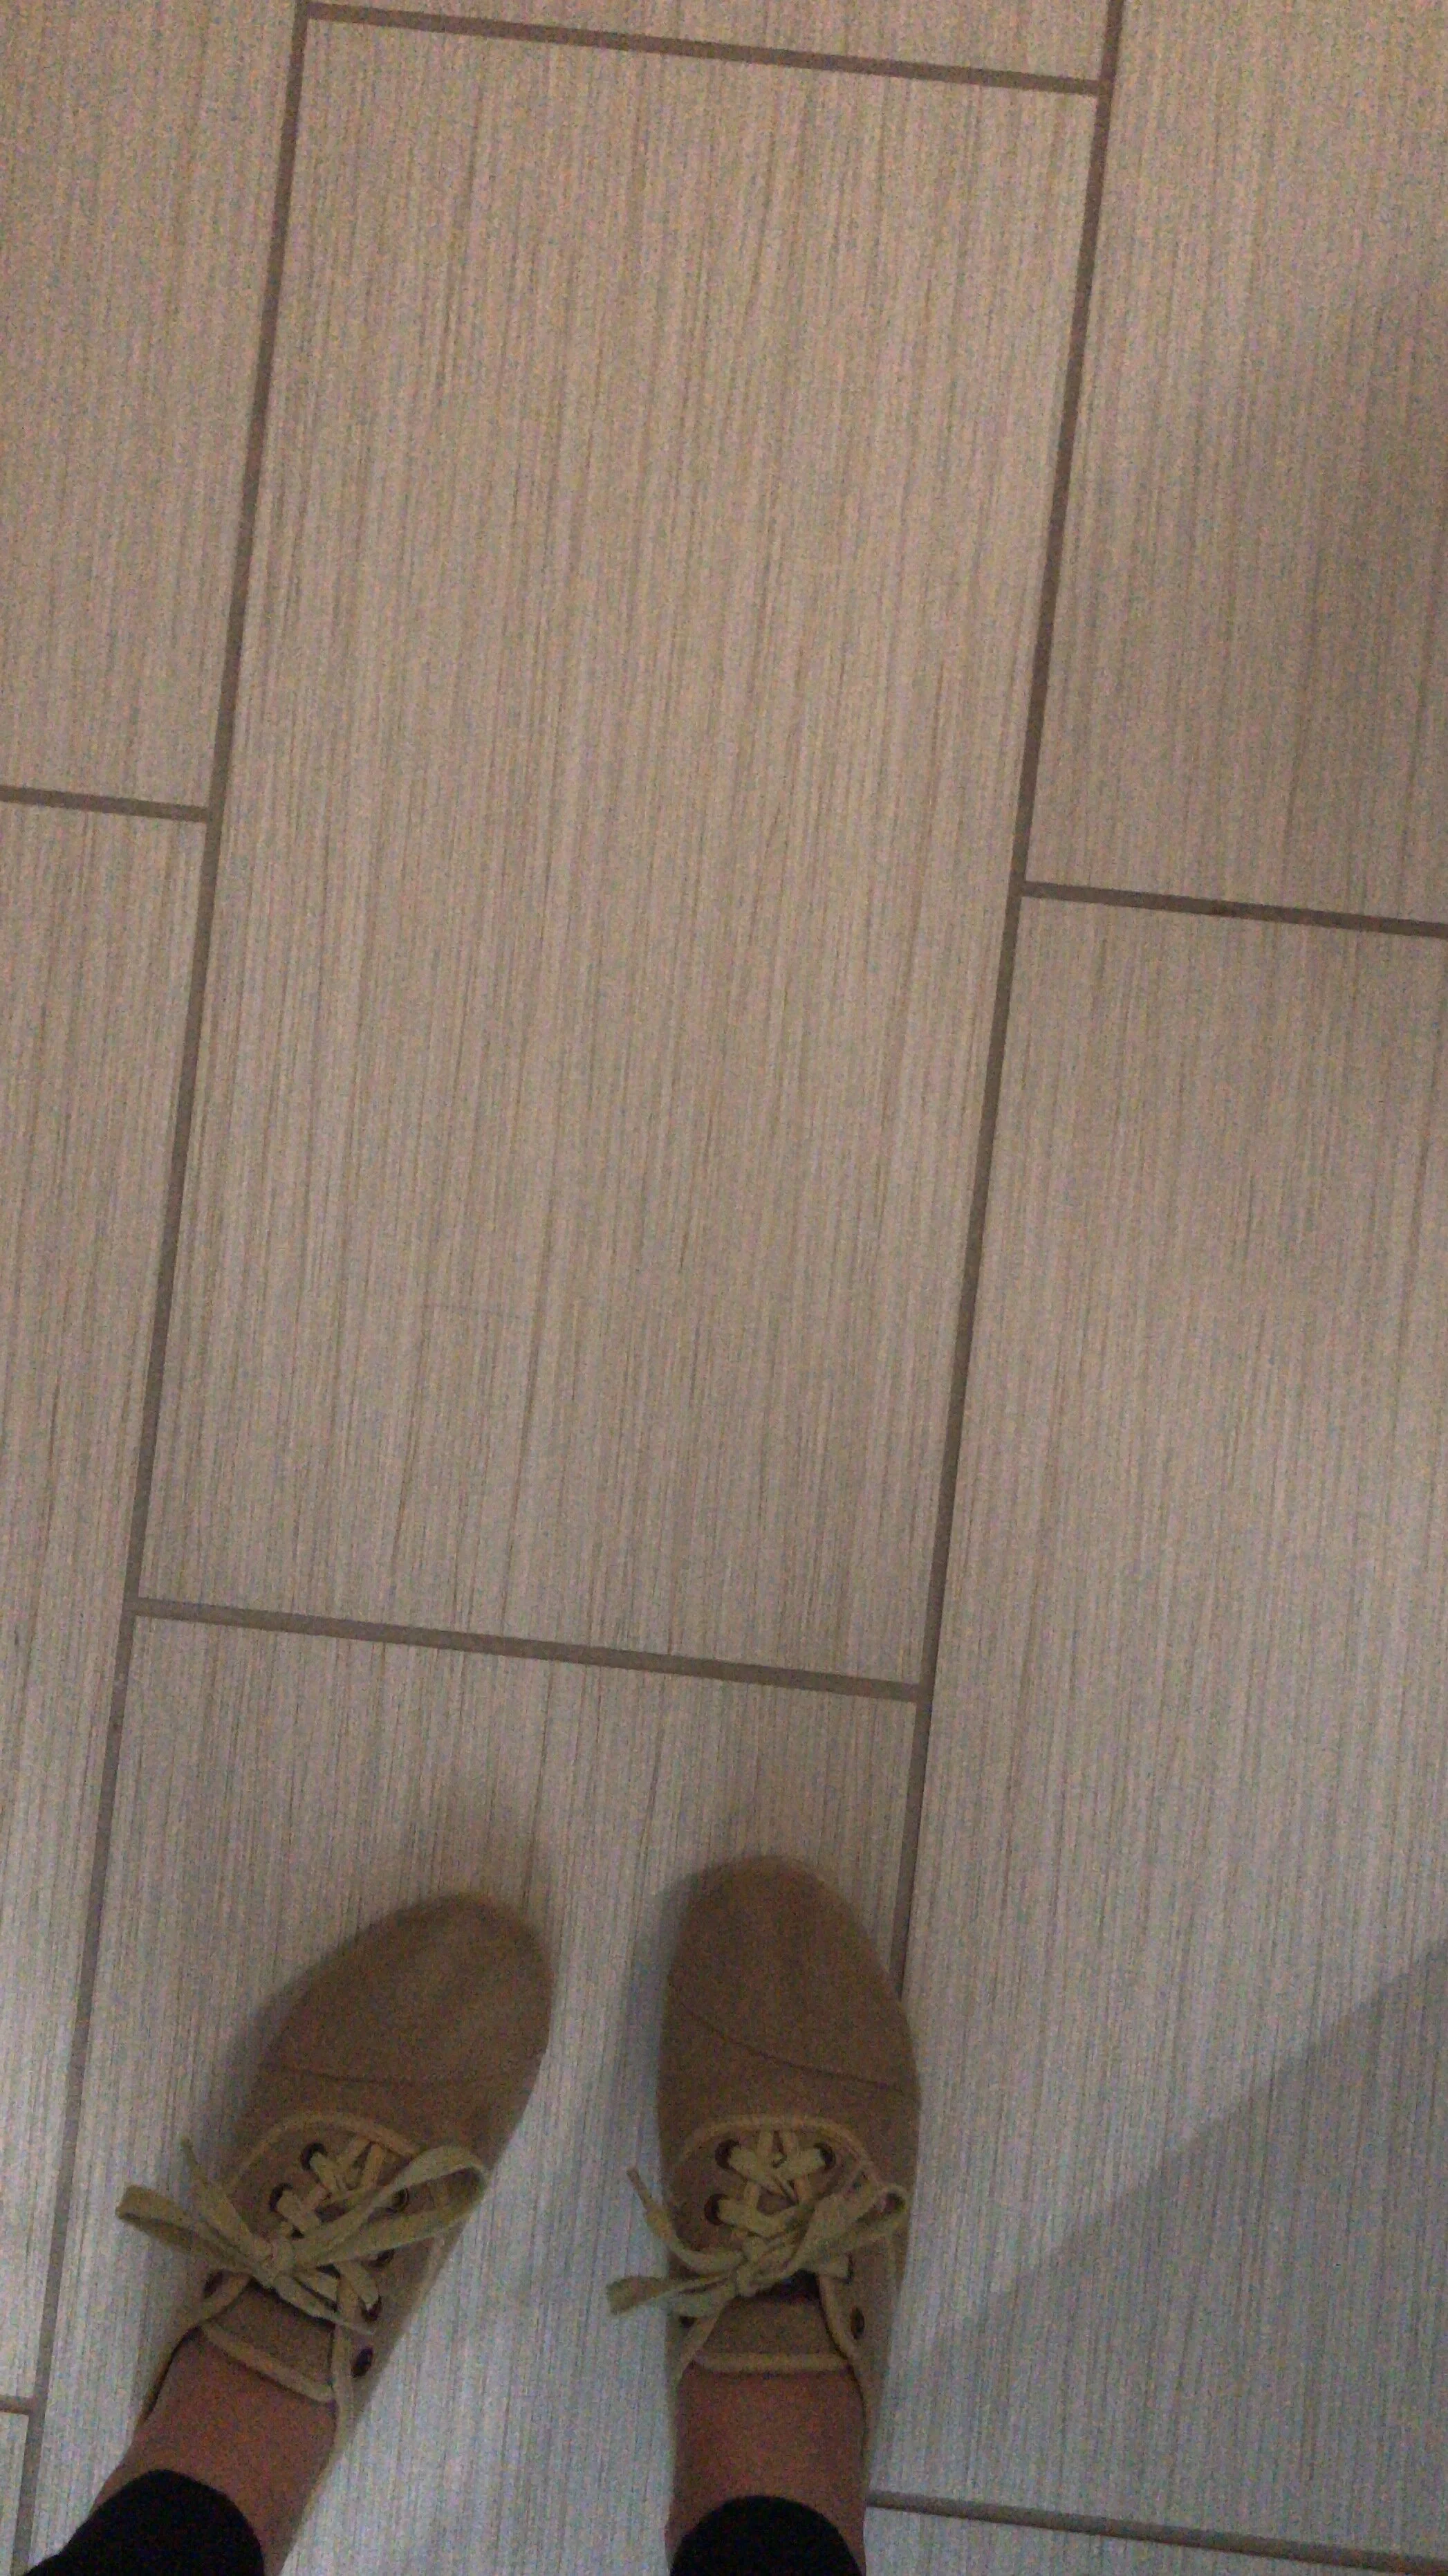
Yes, please. The rest of the flooring we opted for tile. But here is our trick…we recommend going high/low. Examples: we invested in a high end looking pattern in the guest room bath floor, but with a low end tile. (See striped floor image below). And we found a uniquely large tile for the laundry room floor but because the surface area of the room wasn’t too large, we could afford to use it. Remember that mood board of Pinterest pics we mentioned above? We found patterns we liked and brought the pictures to the design center with us. This helped us relay the vision to our design specialist. At that time, most homeowners were picking one tile for all their bathrooms, mudrooms, laundry etc. I think. she may have thought we were nutso when we said we wanted a tile floor laid in alternating stripes. In fact, she talked me out of black and white stripes. (which many days I still think about!) We intentionally decided to stay with a color palette/theme for cohesion of design, but purposely selected DIFFERENT flooring for each room. This keeps our home, uniquely us and special compared to neighbors who might have a similar floor plan. This was the first big step toward differentiating our home to the others in the PUD. Some homeowners invest in only adding a splash of spice to their master tile, we decided to add design elements into each room up front so we didn’t have to rip/replace later! Here is a few of the many flooring choices we have in Casa Rossi.
Floor pLAN OPTIONS
When building a house in a planned community, there are typically several floor plans to choose from. And within each floor plan there is a list of floor plan options that you can opt for, at the premium for that add-on. For example, the standard floor plan might include an upstairs loft. For an extra xyz amount, you could have the builder convert that space to another bedroom upstairs. For us, we decided to invest in the floor plan options that 1.) made sense for our growing family and 2.) that we could use as a differentiator compared to other houses, should we ever need to sell our home. We knew that more beds/baths could set our home apart in the community so we added a main floor guest room and converted the main floor powder room into a full 5 piece bathroom. As homes in our neighborhood have sold over the last 8 years, I have to say, this is one decision I am so glad we did. We are one of the only houses in our ‘hood that offers the bedrooms/bathrooms count we have so we have set ourselves apart!
A few other floor plan options we decided to buy that we believe are key wins to have, if possible:
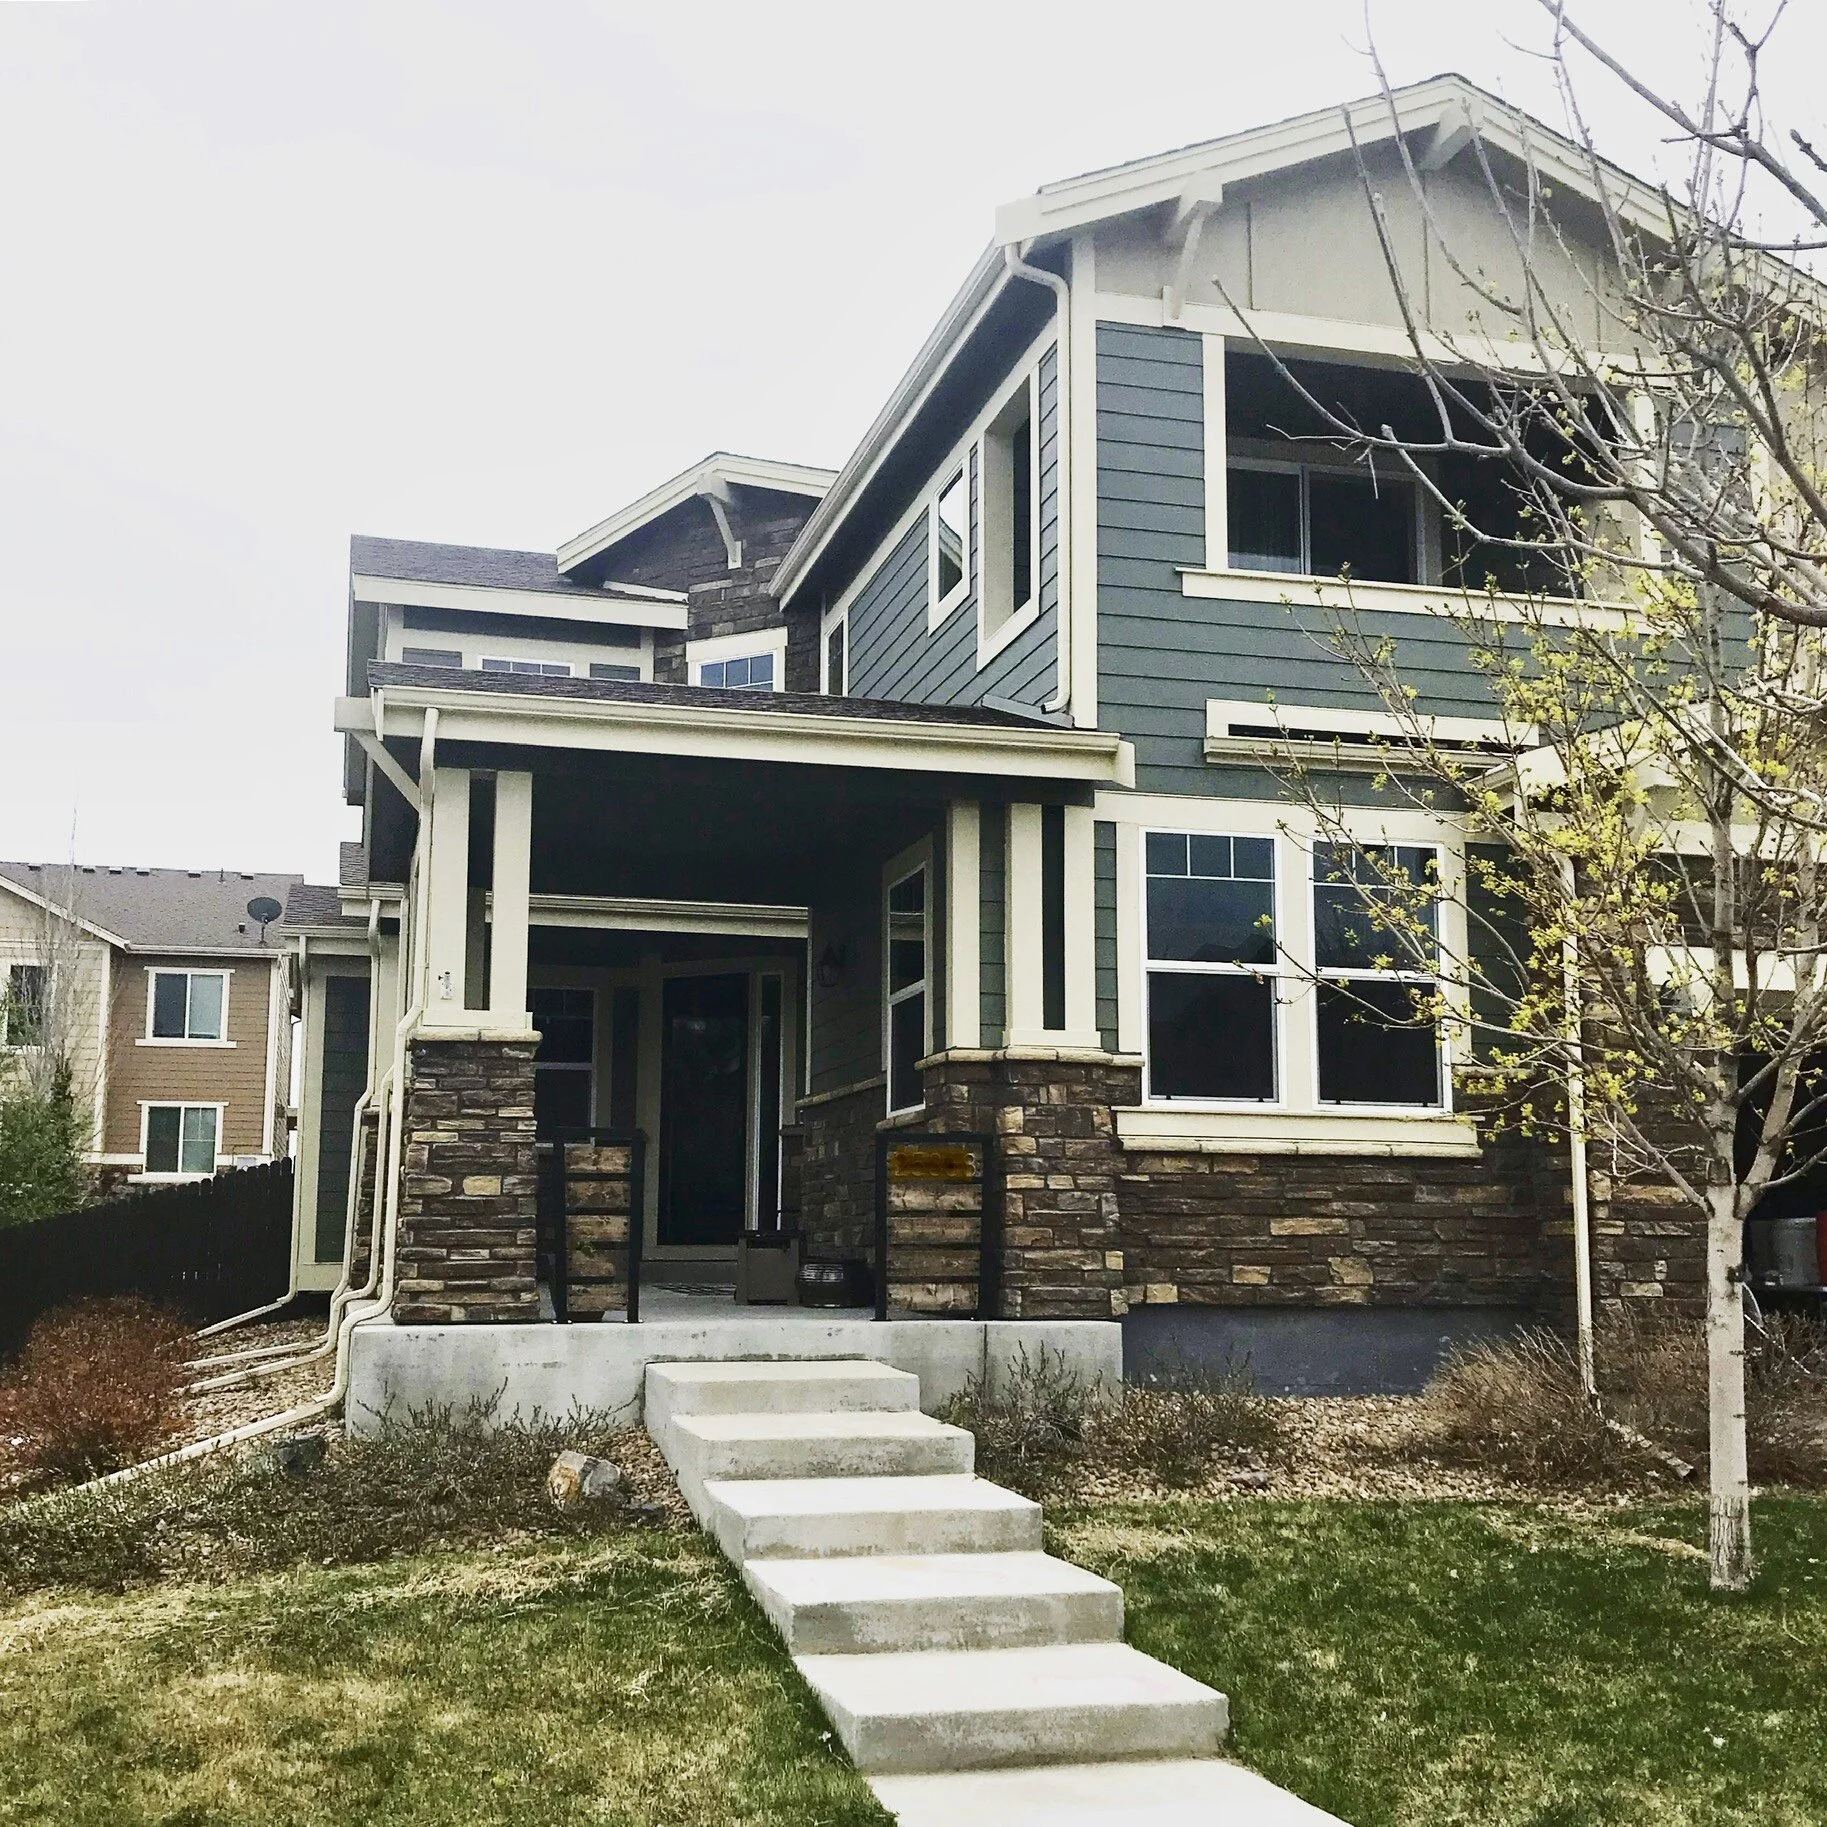
Elevation. The elevation is the design of the exterior of the home. We selected the elevation that maximized the front porch space.
Lot. We were careful to not “over-invest” in a premium lot that offered a view (although backing to open space or a mountain view would have been cool), instead we opted for yard. We selected a lot that had a larger, wider, flatter lot so we could enjoy the yard with the kids and bring in some unique landscaping elements. (Which we will touch on in a future blog post!)
Garage door exit. This seems so basic but is often left off or overlooked. If you have the option to add a side door to your garage…do it. It is SO much more of a pain to add it later. This convenience is well worth the couple hundred bucks. Side access from your yard to the garage is CLUTCH.
Added square footage. We had the option to add a deck off of the master bedroom…which also meant big ole slider doors for windows…which means added useable square footage AND more natural light….um…YES PLEASE. If you have the option to add space off your master, we strongly advise. Adding living space later can be a drag on finances and time. Plus, who doesn’t like to decorate a little lovely patio!
Shifty Stairs. The floor plan of the stairs from the garage into the house was not ideal. The stairs jutted directly into the parking space compromising parking and our ability to access the stairs to get inside. We lobbied with the builder to have our stairs reconfigured to point sideways, creating a landing and maximizing the parking space. This was worth the back and forth. Overall, if you feel strongly about a floor plan/layout change AND it makes sense for the builder, talk with them to adjust the plans for your house. They welcome feedback that improves the overall sell-ablity to future homeowners.
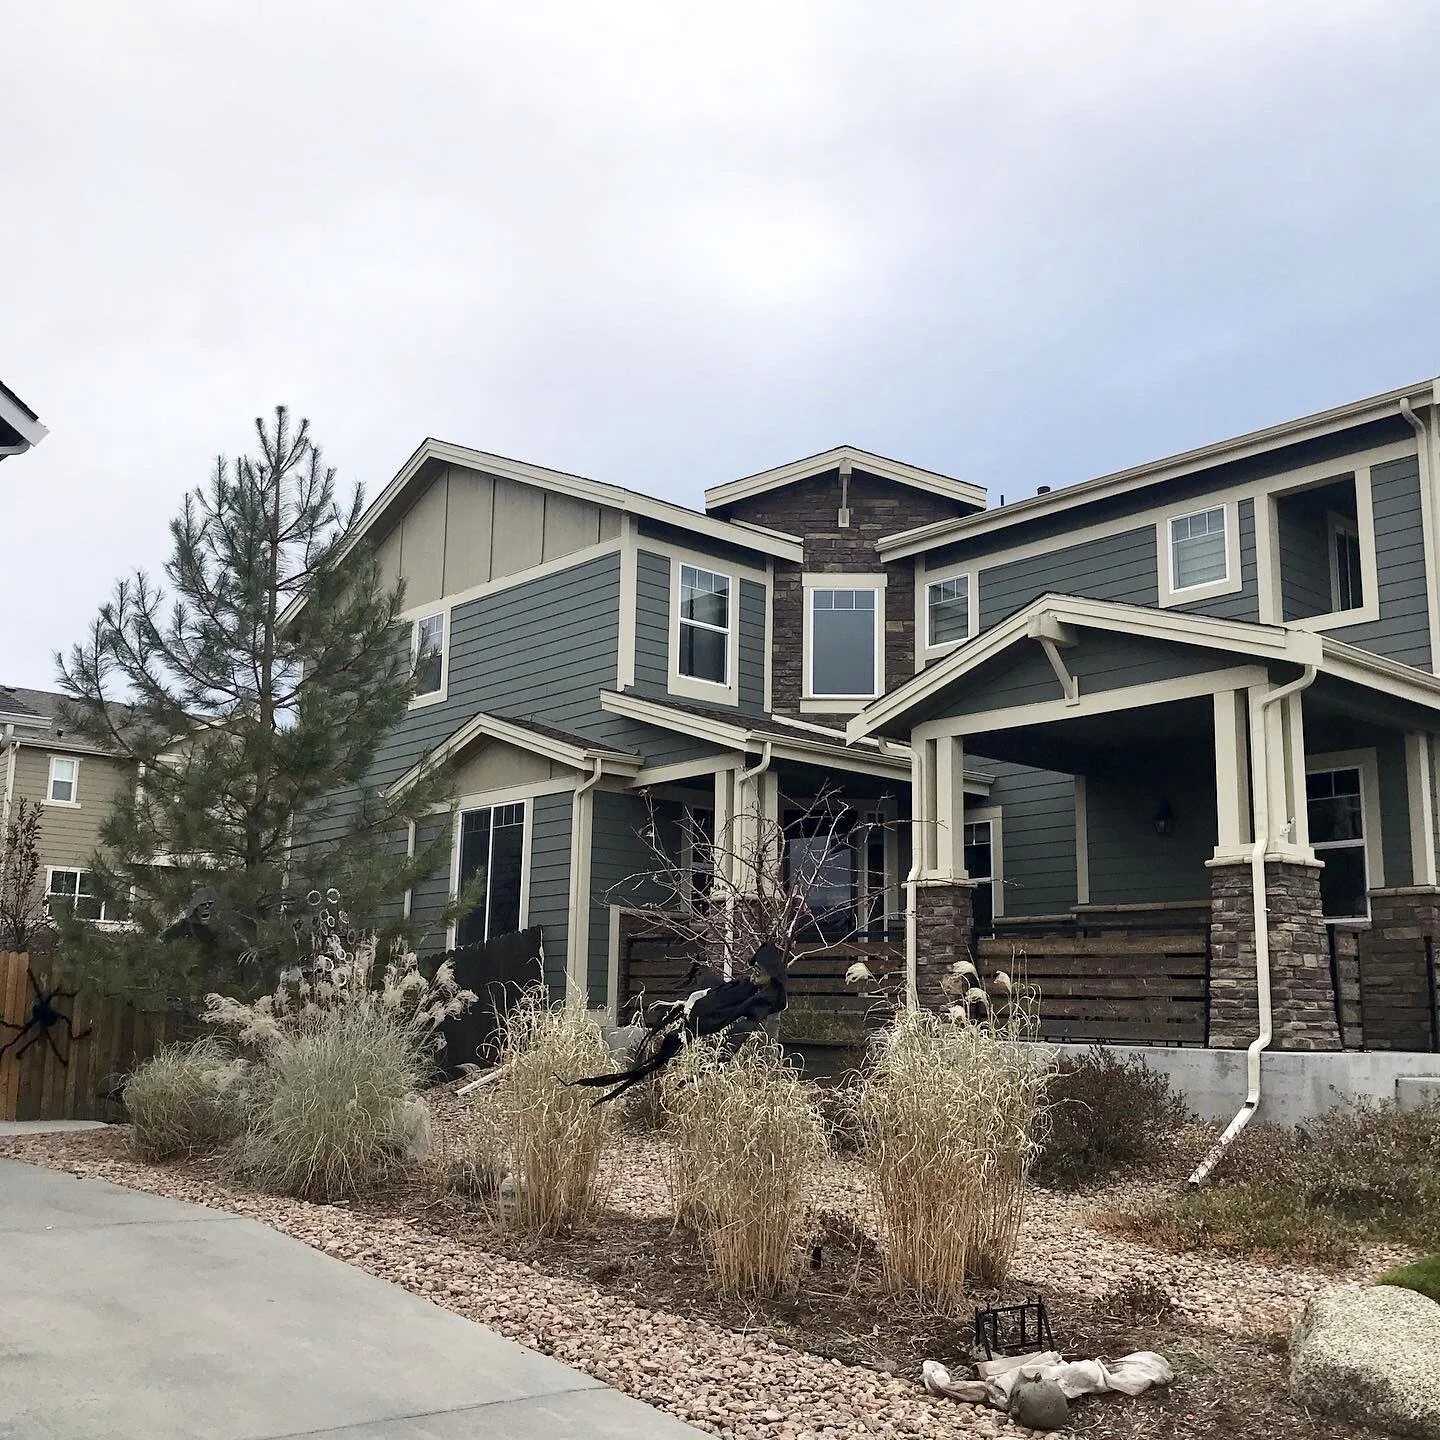
(Notice the neighboring Halloween decorations (above) and SURPRISE((!!!)) the color of house is different now! …we will post about that topic soon1)
SPECIAL FINISHES
Here is a punch list of some of the special finishes and decisions we made in the design center which personalized our home out of the gate.
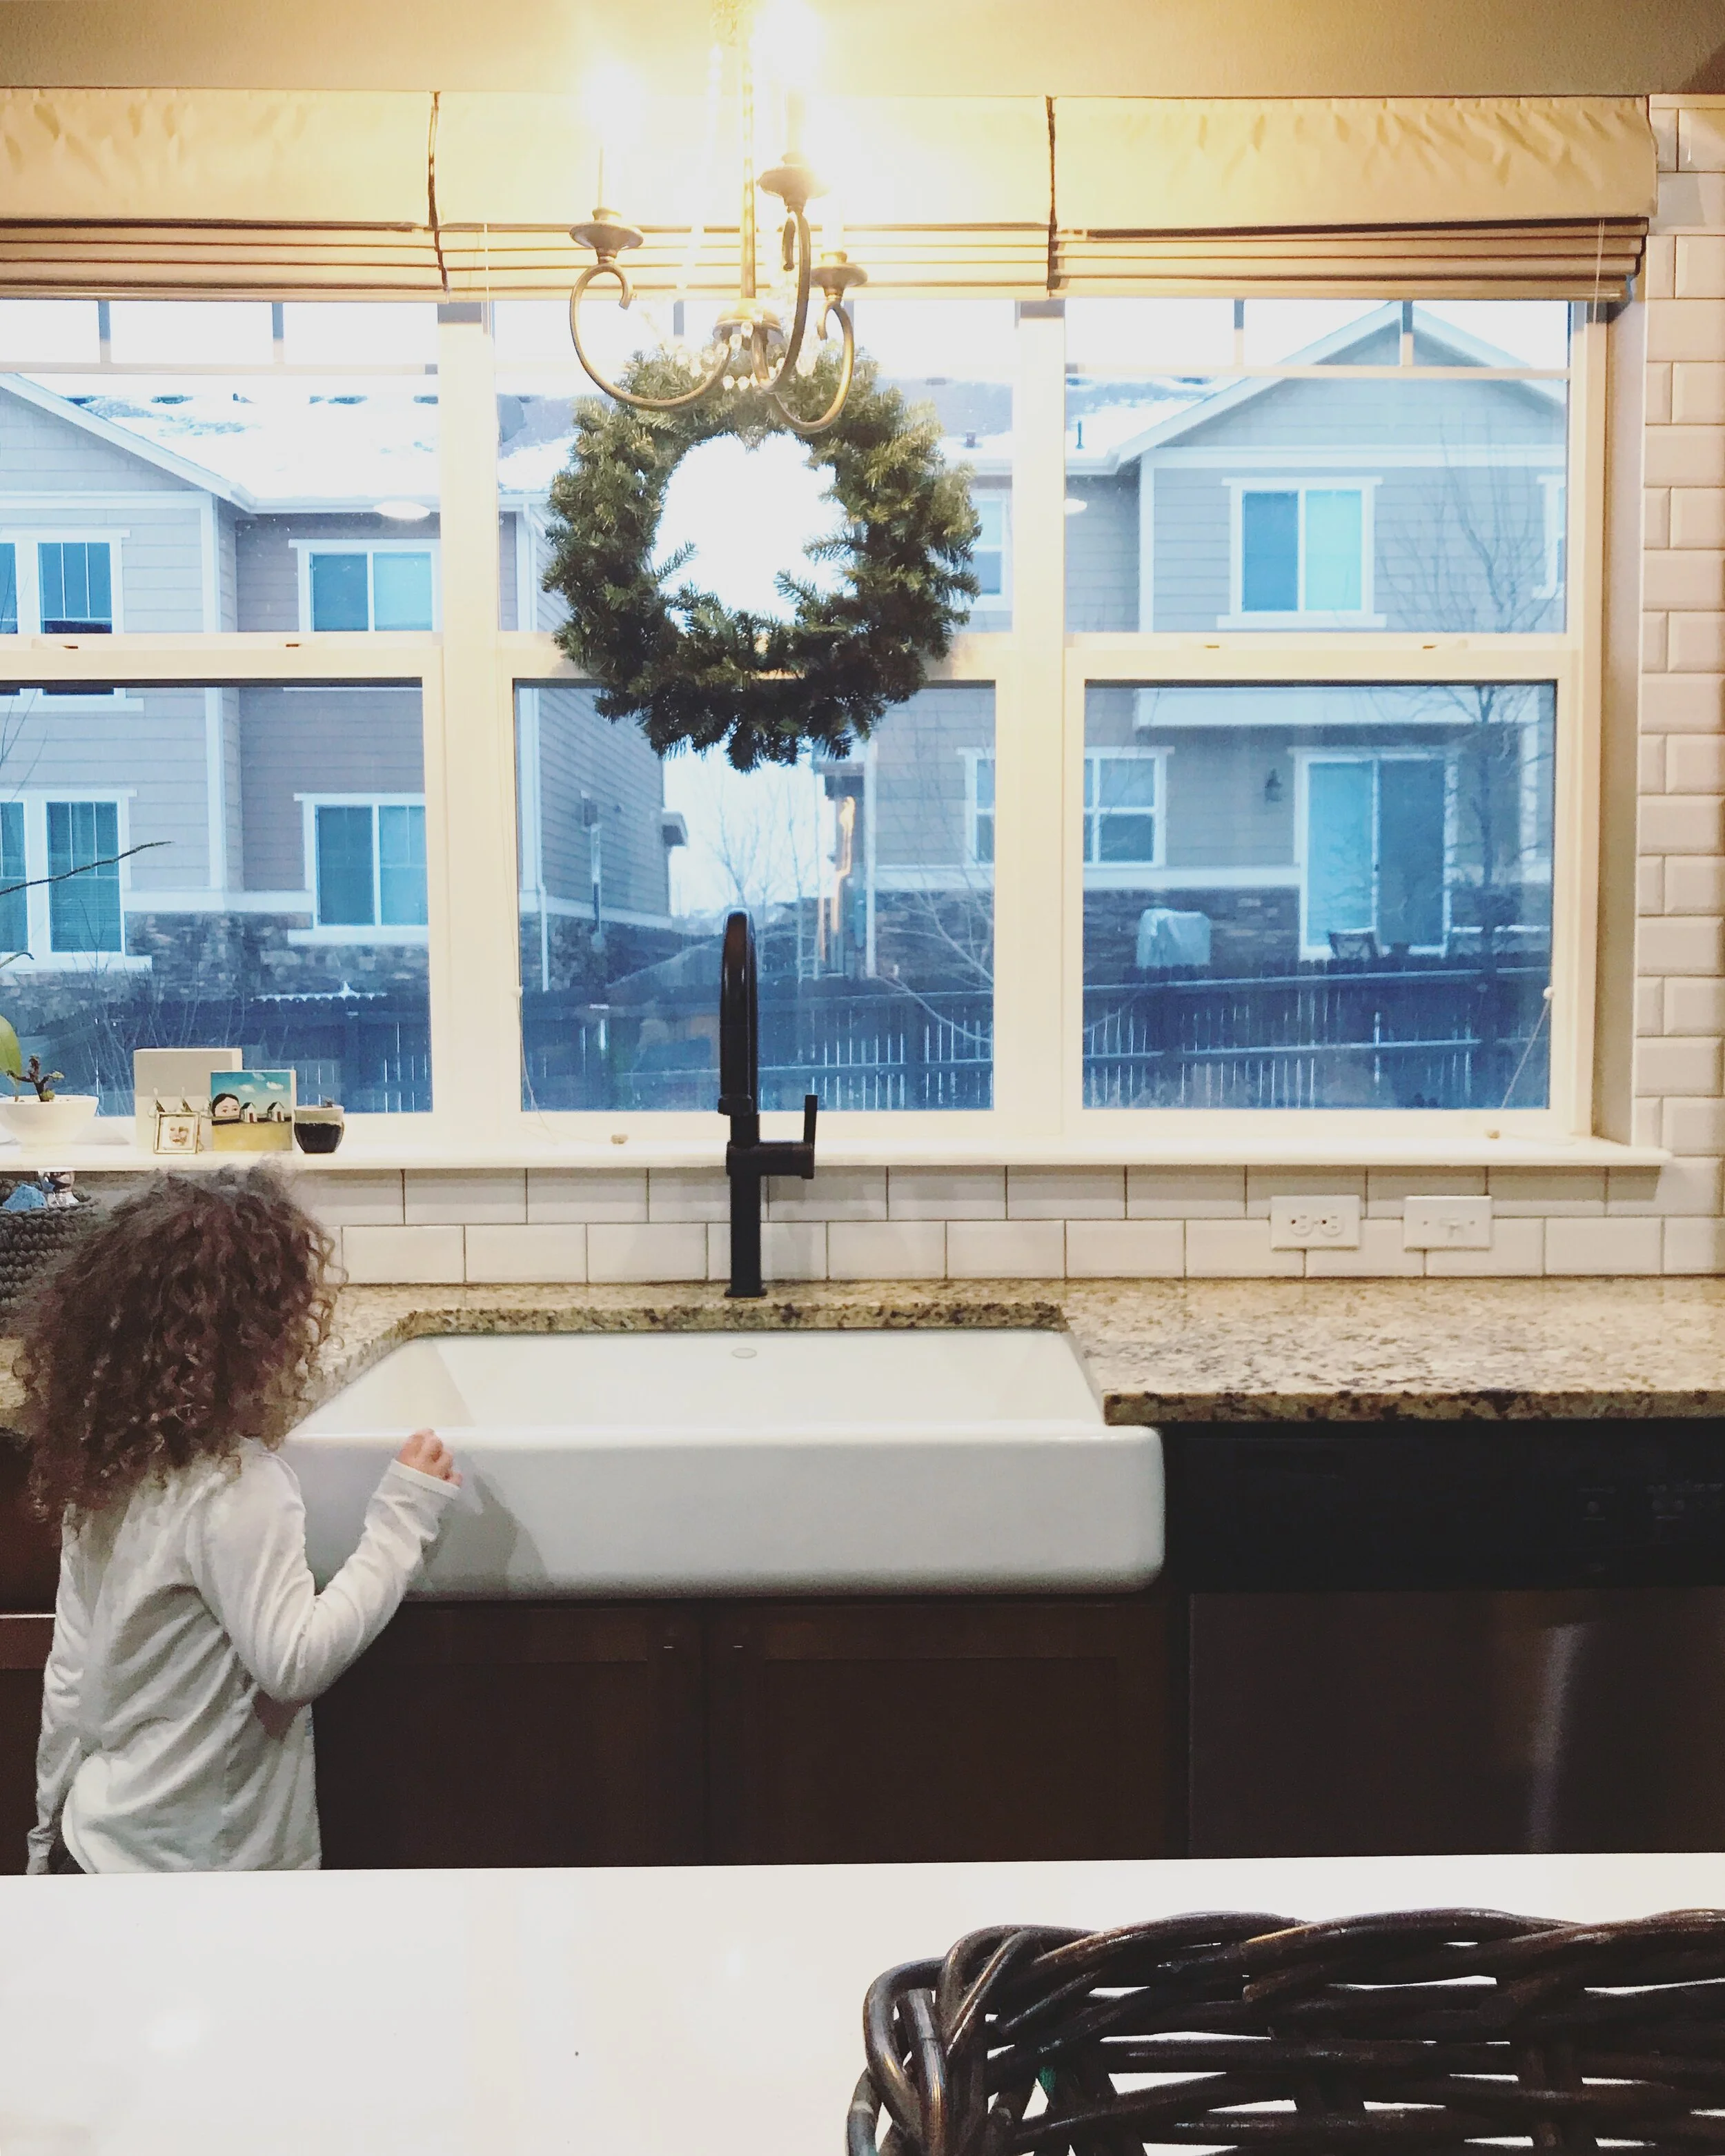
Farm house sink. This was a non-negotiable for me. Thinking about ripping out the granite countertops we just negotiated for in order to put in an apron-front sink after the fact was a no-go for us! Apron front sinks were not an option with builders until a few years after I insisted on ours. Knowing they wouldn’t offer it as an option, here’s what I did: I told the sales professional that it was a non-starter AND I brought her a solution. I sourced the Kohler Whitehaven sink and asked if they’d install it if we purchased it outside of the contract. They agreed! If some fixture/finish is a non-starter for you, we recommend you letting the sales professional know off the top. And help them get the build done by bringing them a few ways you can think of to solve for what you need.
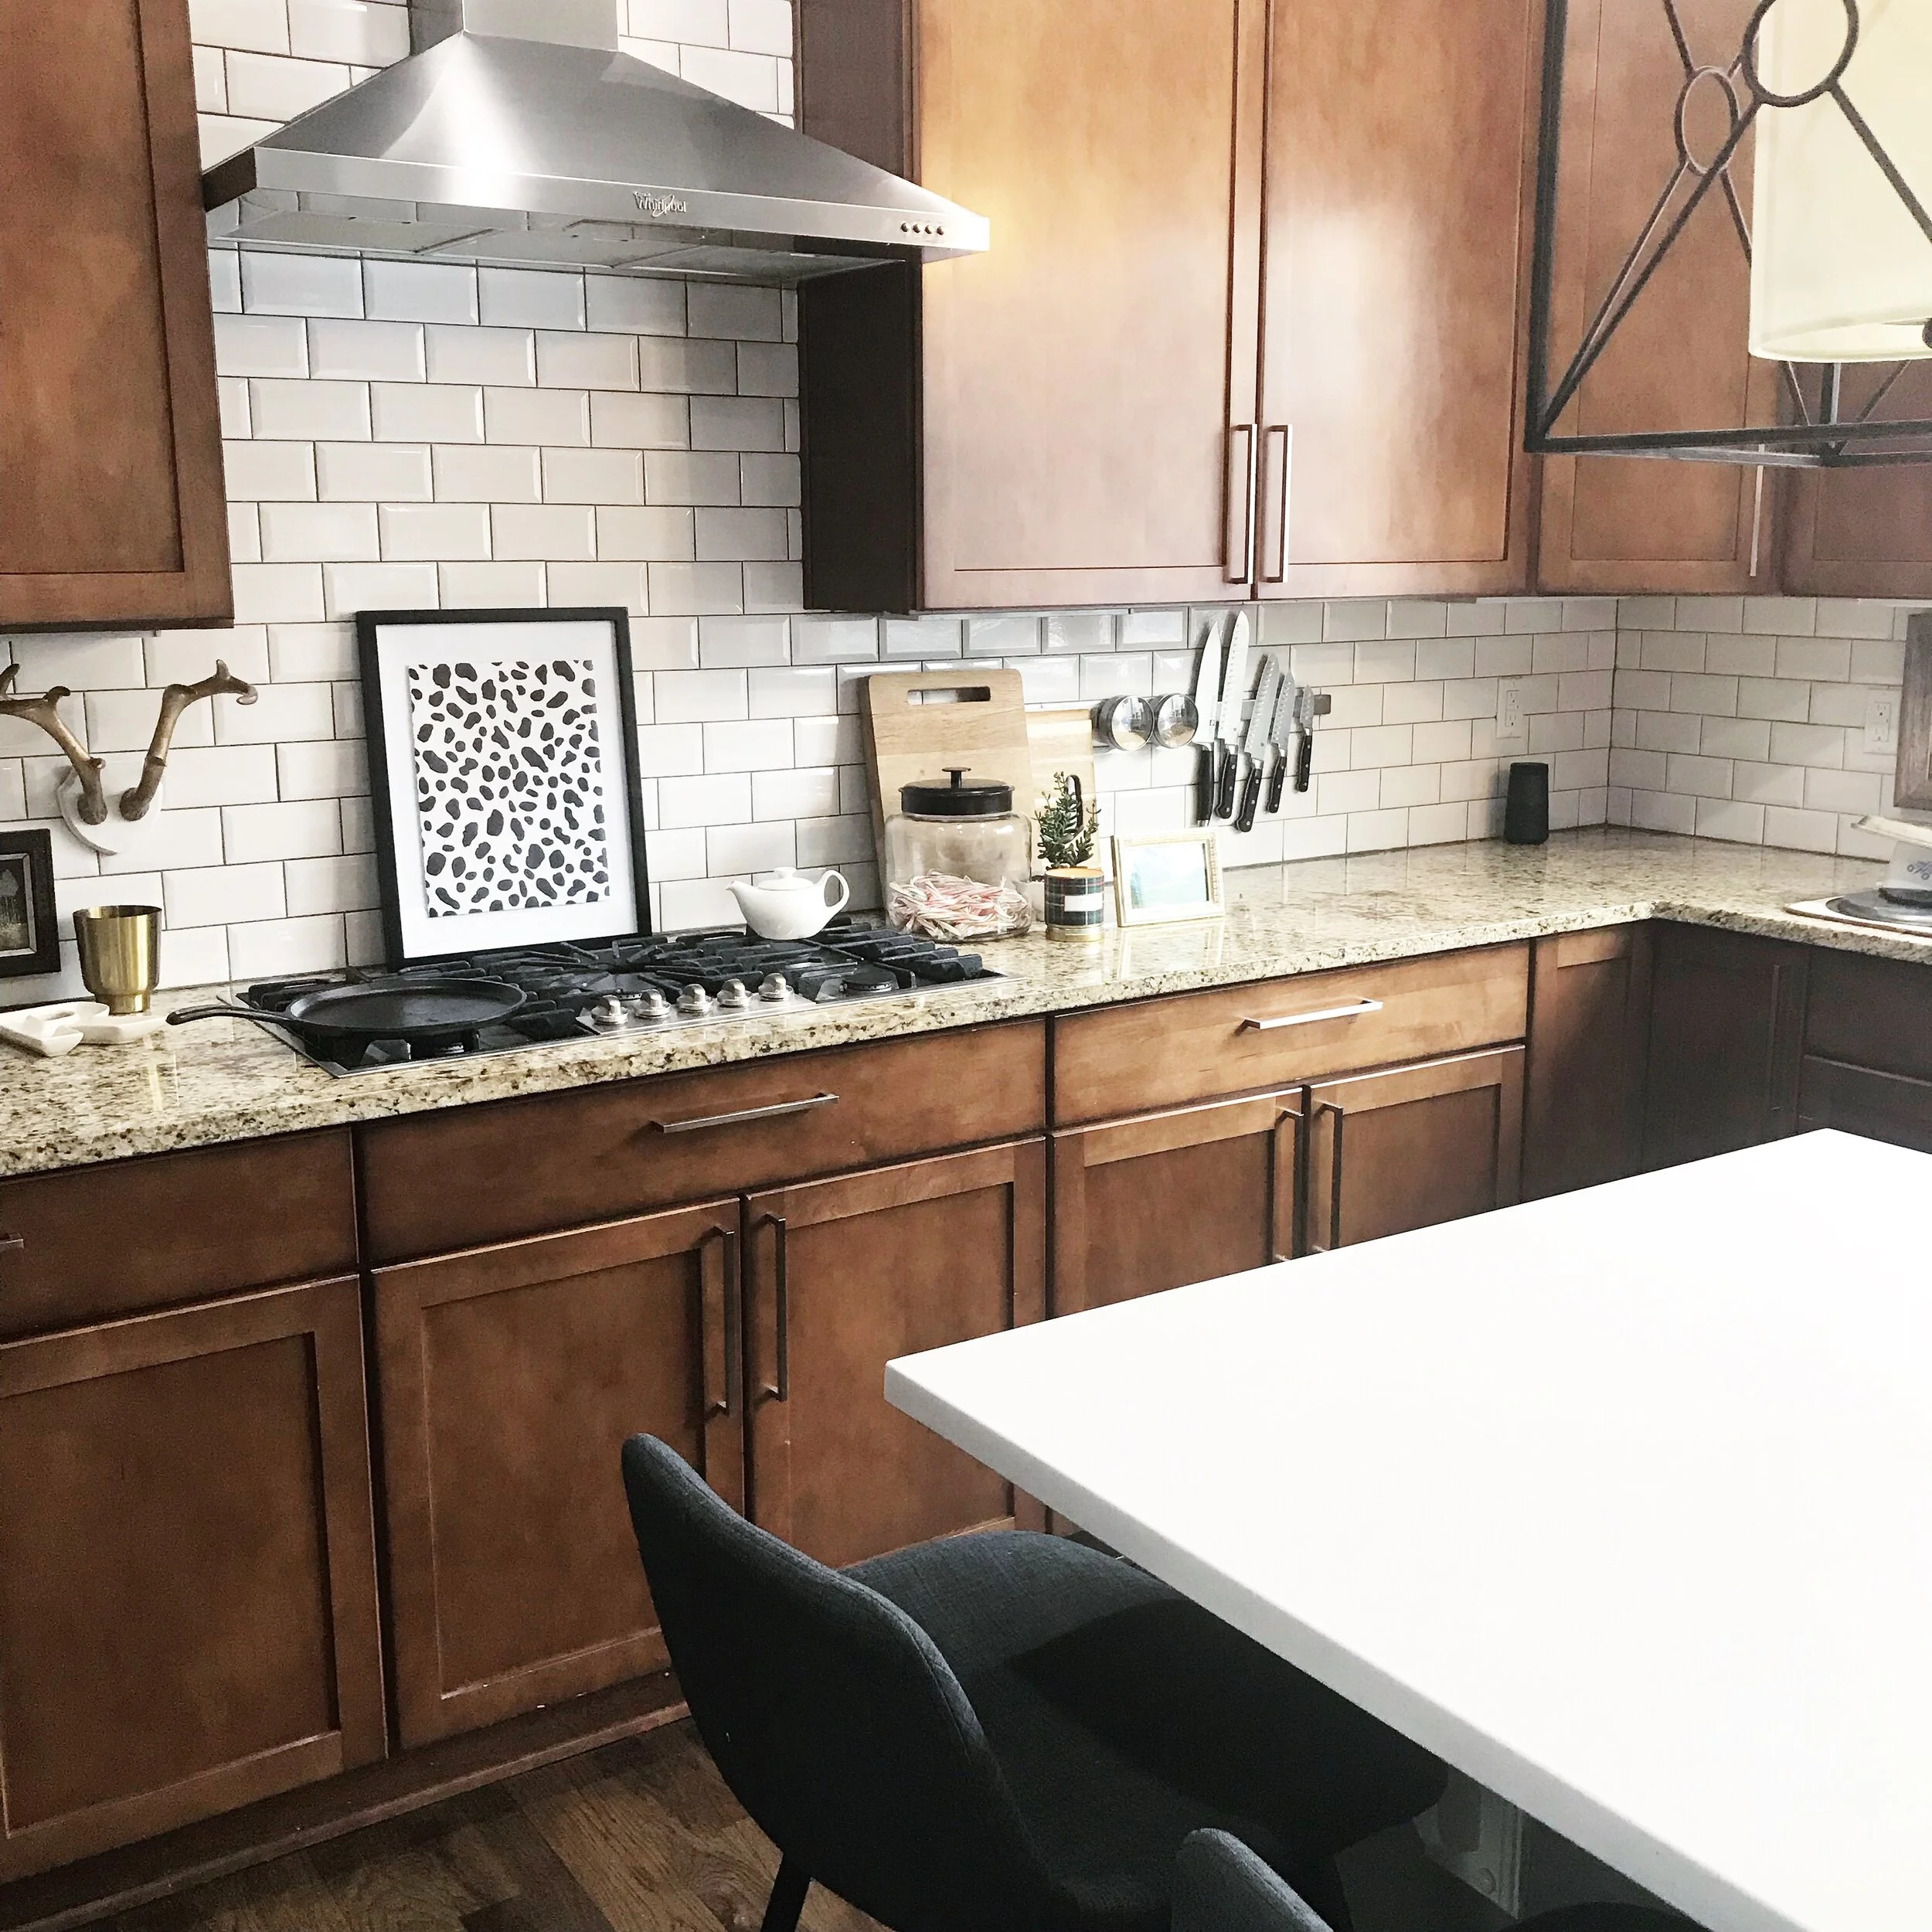
Two different colored countertops. Gosh—I know…a rule-breaker AGAIN! At that time, different countertops were a WILD idea. HA! And today some builders will only offer incentives for their granite choices. For us, we went with the builder’s granite for the exterior counter in the kitchen and we invested in a white quartz in on the island. It was less expensive than doing the whole kitchen in quartz and the island alone, pulled in the white finishes that we had chosen for tile and that farmhouse sink! It took some discussion but they agreed to sell us two different counters and coordinate the install as such. One thing they couldn’t quite understand was a “waterfall edge” on the island…so I had to concede on that. (I haven’t quite let it go…I kid. I kid.)
Custom floor stain. We did it. Don’t be afraid to ask for something other than the typical “we stain to match the railings and cabinets.” Ask to meet with the flooring crew onsite and to mix the color with them. This way you get the exact color you want. After all, it is going on your floor…for a long time. Also, remember to tell them what finish top coat you want. (glossy, matte, etc)
Removed Railing knots. We liked the metal railing look but we didn’t like the spindles…and we didn’t like the twists. So, we asked if we could only use straight bars, no spindle bars. We definitely got a puzzled look on that one and they couldn’t special order railing bars without twists at the time, but they did install only bars without the spindles. These are the details that make our home unique to us.
Increased the cabinet height & added taller bathroom fixtures. Elected for the taller doors. Yah, yah, we are tall…and when you come into our house and stand next to the bathroom sink, you might feel like you live in the land of giants. But it works for us. And it is another distinguisher for us that makes our home feel more customized. Since we are tall, we elected for kitchen cabinet height cabinetry in all areas except for the kids’ rooms. If you didn’t know this was an option, most builders can easily do this and accommodate for a nominal up-charge. We also asked them to install the shower heads in all bathrooms higher AND we purchased the taller doors. The taller door option was intentional for our height but also because the scale of the doors was important to us for aesthetics. We felt the regular-sized doors compromised the volume and scale of the space, which is one of the things we loved most about the home.
Sink in the mudroom (we added the built-ins). I knew we’d be painting and could use a utility sink right away. Pay for the built-ins…nay. We could eventually add built-ins in the mudroom, which we did (future post on that Ikea hack!) but the convenience of a deep sink in the mudroom from the get-go was a key element. Also, the cohesion of using the same cabinet in the mudroom to match the kitchen was a design cue that I liked playing off of. We had the sink and cabinet installed and then built around that for the custom cubbies later.
Cabinet package. We upgraded the cabinet package to get the taller top cabinets (again, a scale thing…plus storage!) which also added the crown detail for the look we wanted. We felt that this choice added value to our kitchen. BUT we didn’t like the look of the upgraded cabinet doors, so we asked if we could mix it up and go with a door profile from the lower package. They agreed and installed taller, higher boxes with doors from a different package and it worked out great. If you are not loving the cabinets, this is certainly something we would recommend discuss deeply with your sales agent. They are one of the largest investments in the kitchen build or design center and you want to make sure you like the cabinet profile so you don’t have to rip/replace them for a long time! Side note: we did NOT purchase cabinet hardware—we selected those aftermarket so they were unique.
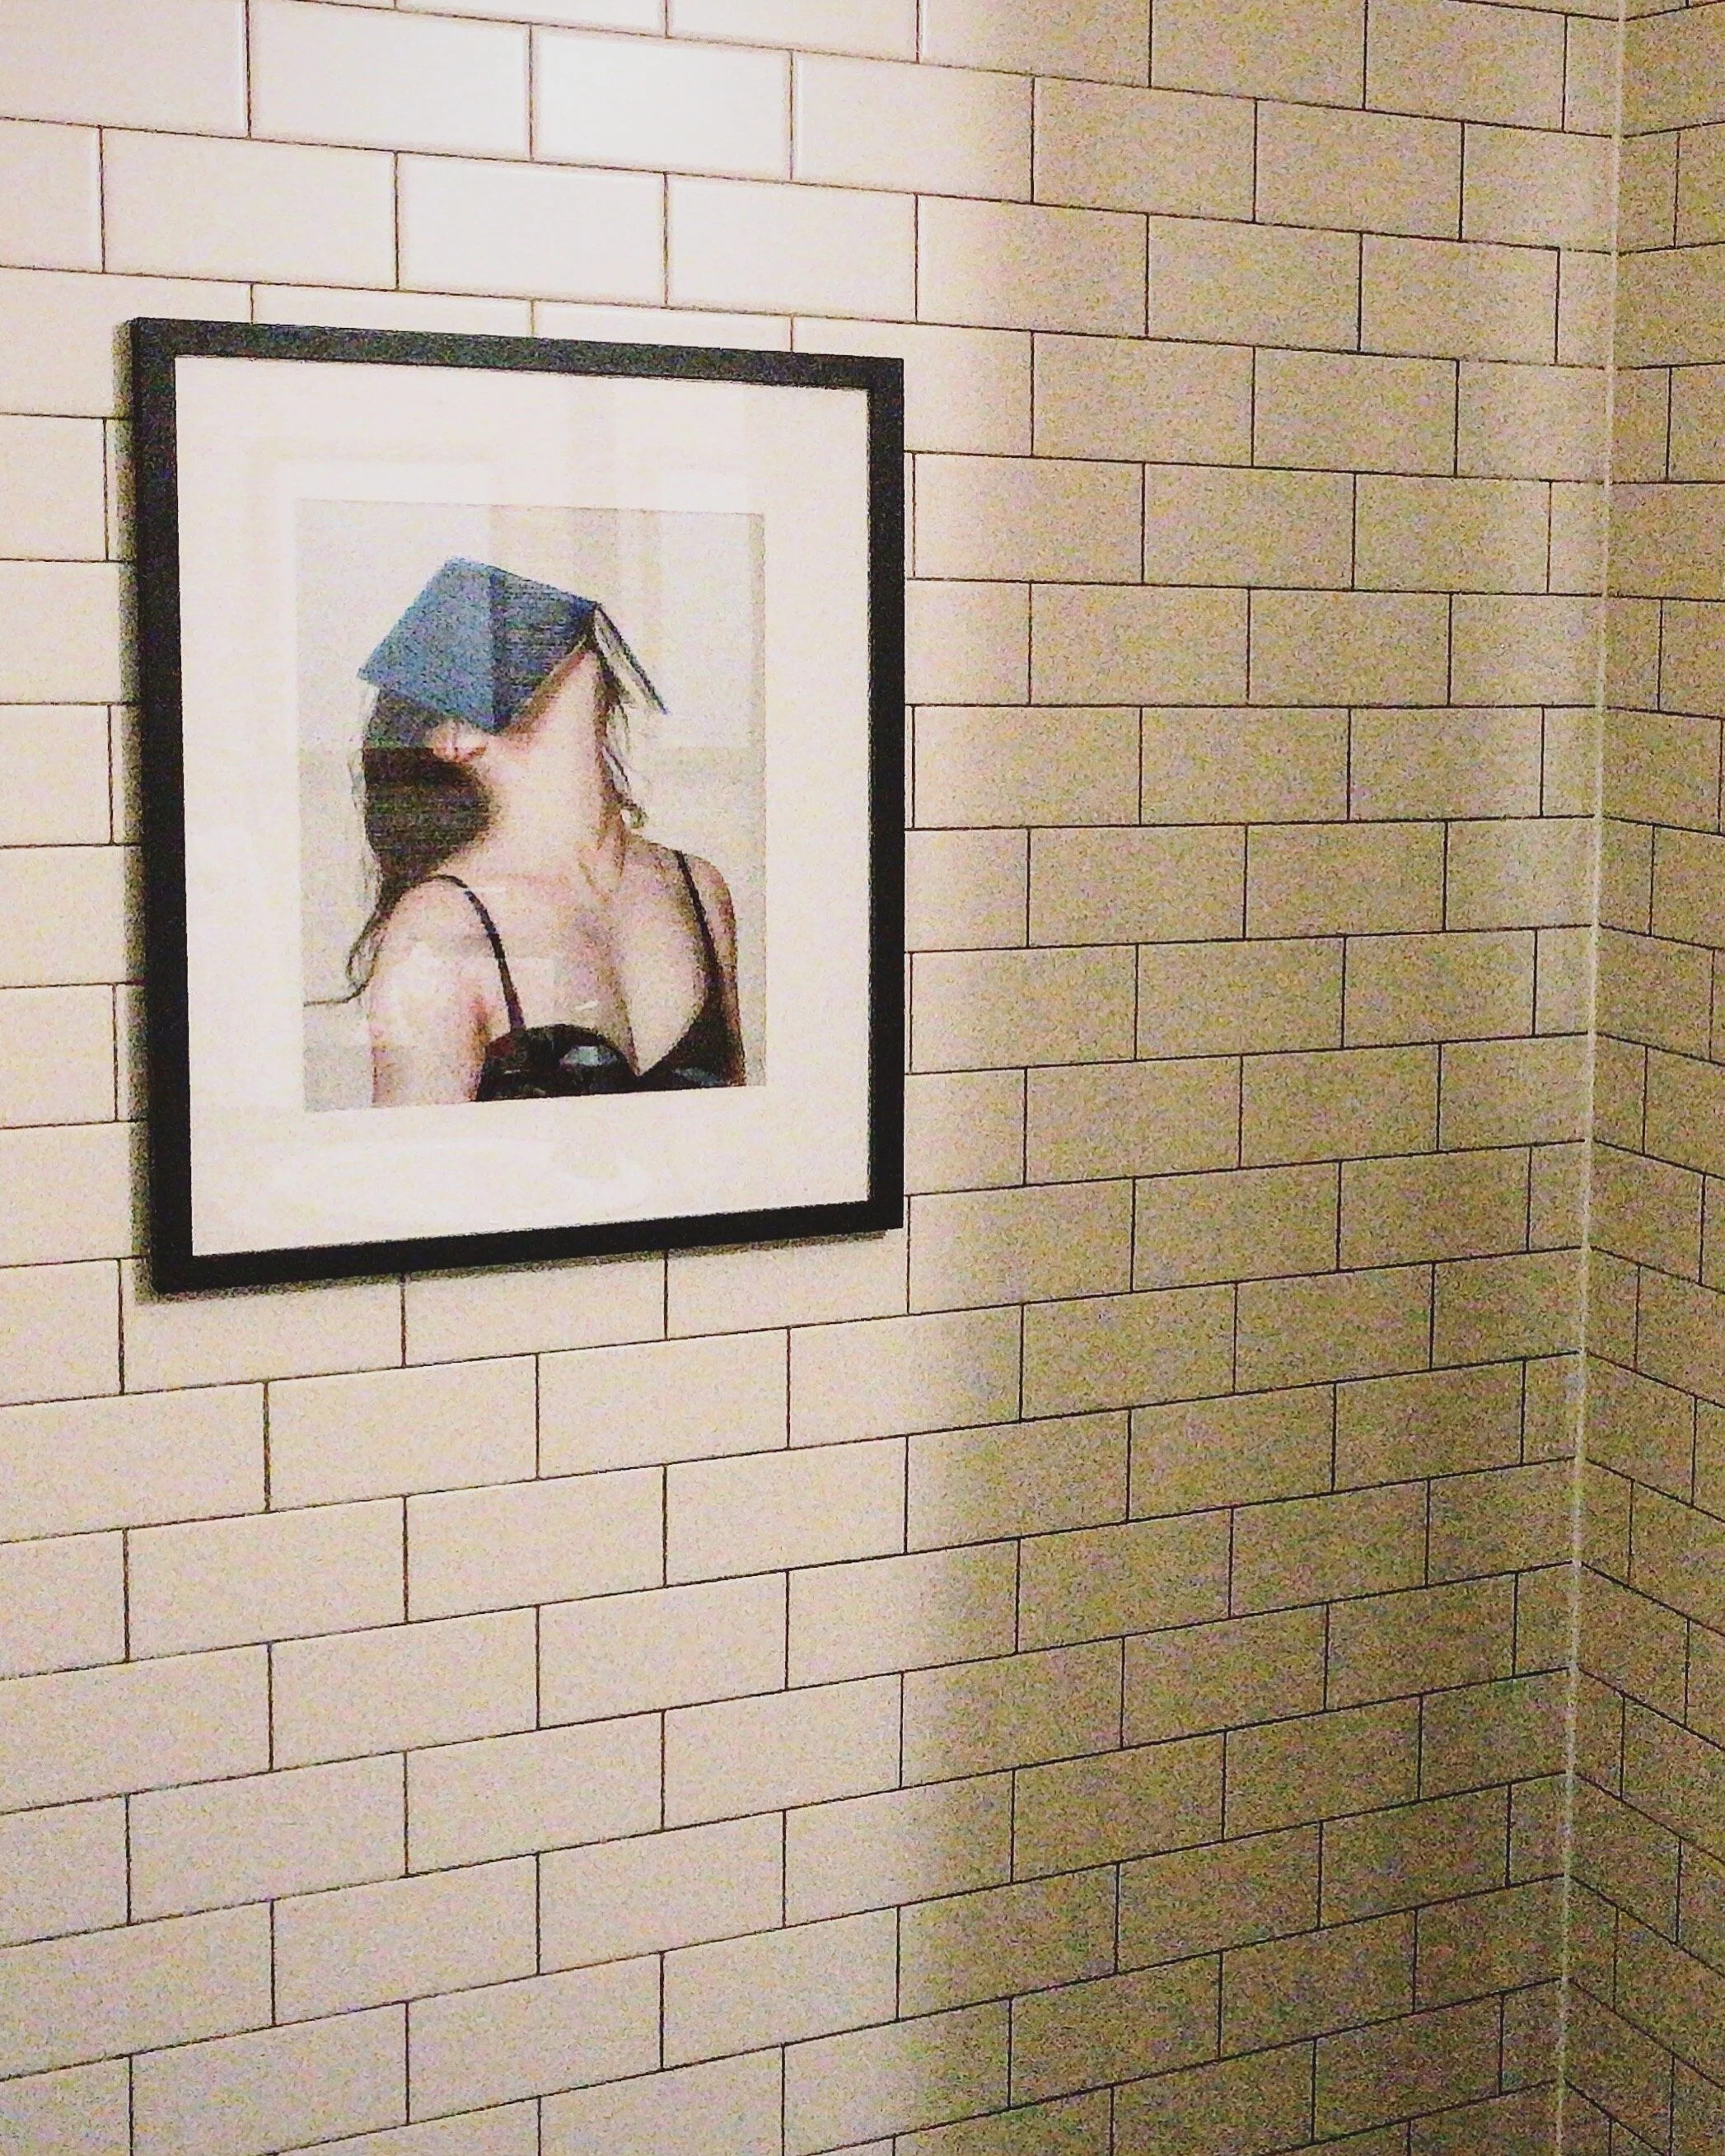
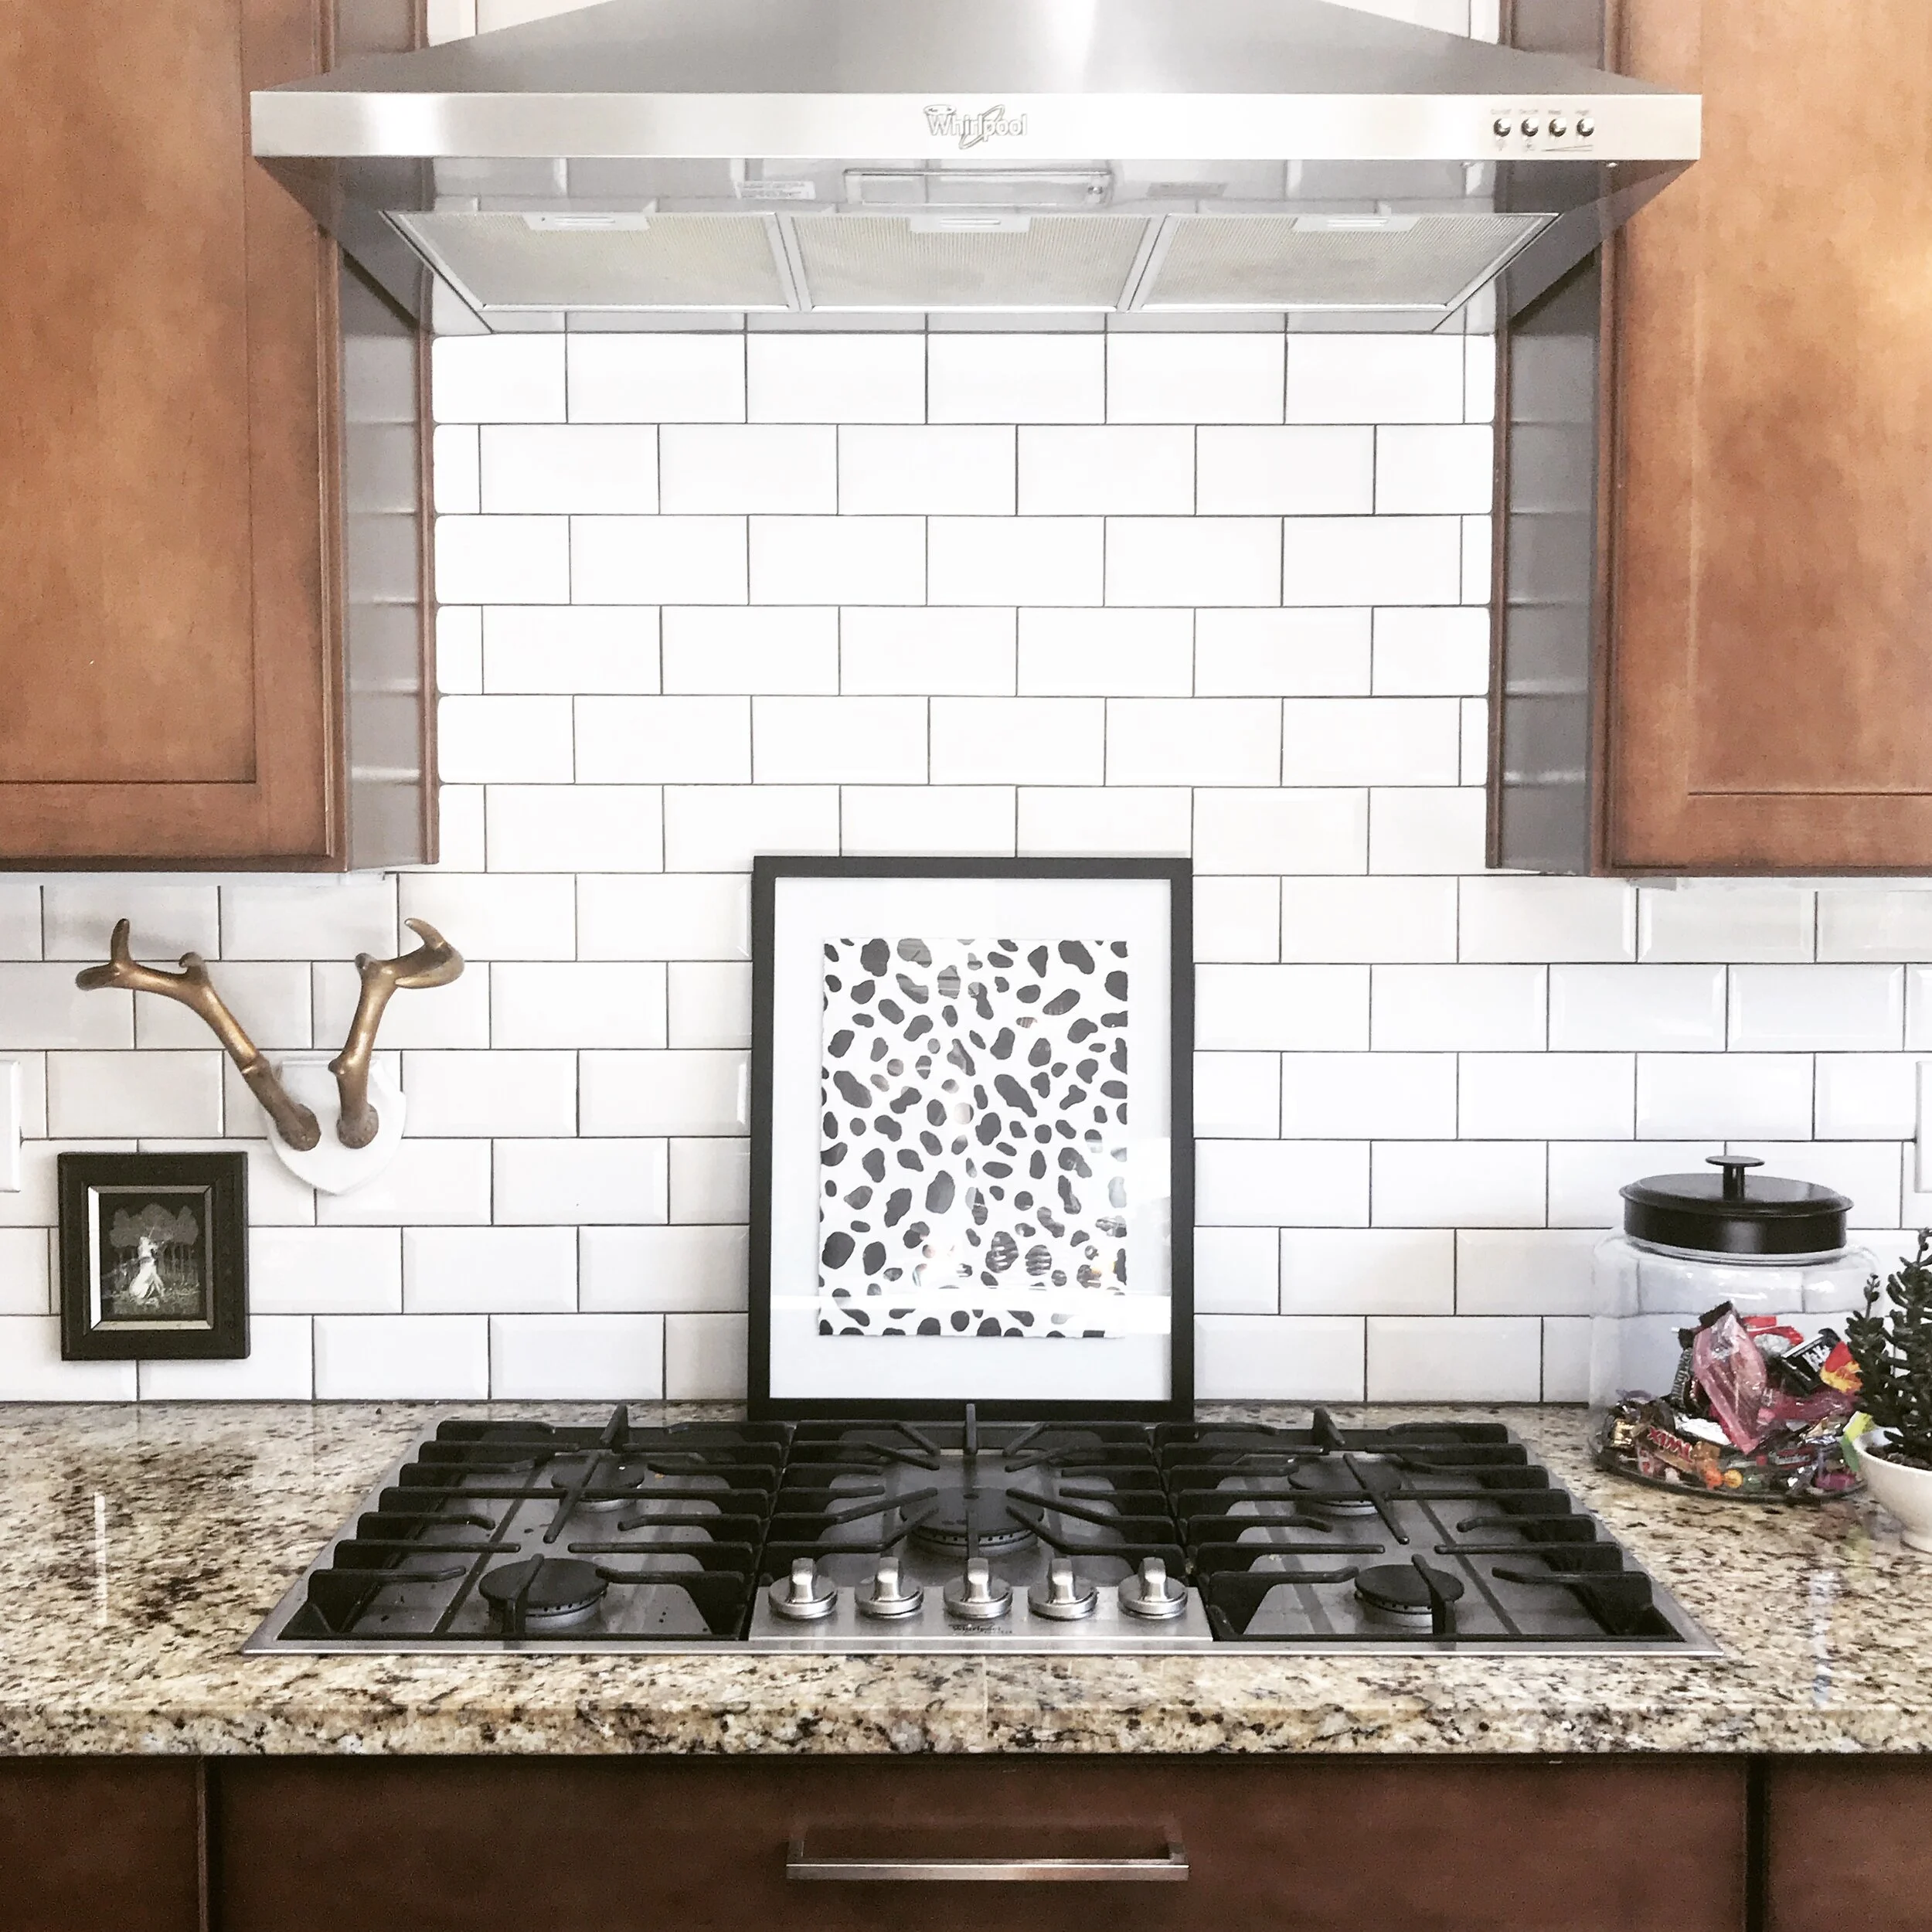
Dark grout, light tile. Can you believe they made us sign a waiver for this? Apparently no one had asked them to use a dark grout for the white tile before us. Challenge the design center to think outside of the box, bring your mood-board pictures that you saved ahead of time and get them bought into your vision. After all, it is your home! Grout is something you will look at daily (and not something to easily swap out) so you want to ensure the tile and grout combo speaks to you. “Speaking” of tile, we also drew out how high we wanted the tile go to in the kitchen (all the way up to the top of the cabinets!) and the tile design for the bathrooms.
4 different sized plank wood floors. After seeing the price of labor for a herringbone pattern, we found a way to add detail to the floor with negligible cost by using 4 different sized wood planks.
Forgo the fridge: We ditched the fridge in the appliance package and we purchased our own so it was counter depth. This seems like a small detail but it added 3 inches between the island and the fridge walkway and made the fridge nearly flush with he cabinets. The visual appeal and added walk space was a solid choice for us.
Add light switches, light fixtures and hardwiring for electronics. It is a pain in the butt to add switches, electronics hardwiring and to hardwire lights once drywall is in. So we were onsite after they did the framing and set a time to walk the house for lighting placement. This allowed us to see what the plans showed for lights so we new where to add more cans, move cans and test for the feel of where the light switches are. Even though you may have the same layout as the neighboring house or model home, these houses go through plan iterations and the framing can be different, even in the same floor plan; therefore, don’t bank on where the lights are in the model, as they may be installed in different spots in your house. You typically get a certain number of canned lights for your plan but you can ask to add more or to move them (within reason). We identified areas we felt would be dark and added a few cans into the plan. Same with prewired lighting. We added one over the sink in the kitchen, as an example, as I knew I wanted a pendant light there. I am still kicking myself for not adding prewire for picture lights in our hallways! (SO don’t forget that!) We also added an additional light switch in the dining room so you can turn the light on from the front entrance and we ensured all rooms were prewired for electronics, as needed. We recommend a walk through to ensure your electrical is set where you want it. Lighting is such a key differentiator, I would invest here for sure!
We did upgrade the lighting and fixtures to a color and style we liked (they didn’t have black at the time so we selected the oiled bronze) because we knew it would take us some time to swap out lights and handles across the house. We decided to go with fixtures we liked best even if they cost more because it was needed for a cohesive look and we weren’t sure how long it would take us to go light by light.
What didn’t we do that we decided to DIY later? We didn’t do the living room mantel and tile options around the fireplace. We knew we wanted to do something customer there later. We didn’t run a gas line outside to the grill. We didn’t add the built-in cabinets to the master or laundry. We didn’t do granite or stone countertops in the kids’ bathrooms—instead we picked a nice formica counter for each one. The list goes on and on…

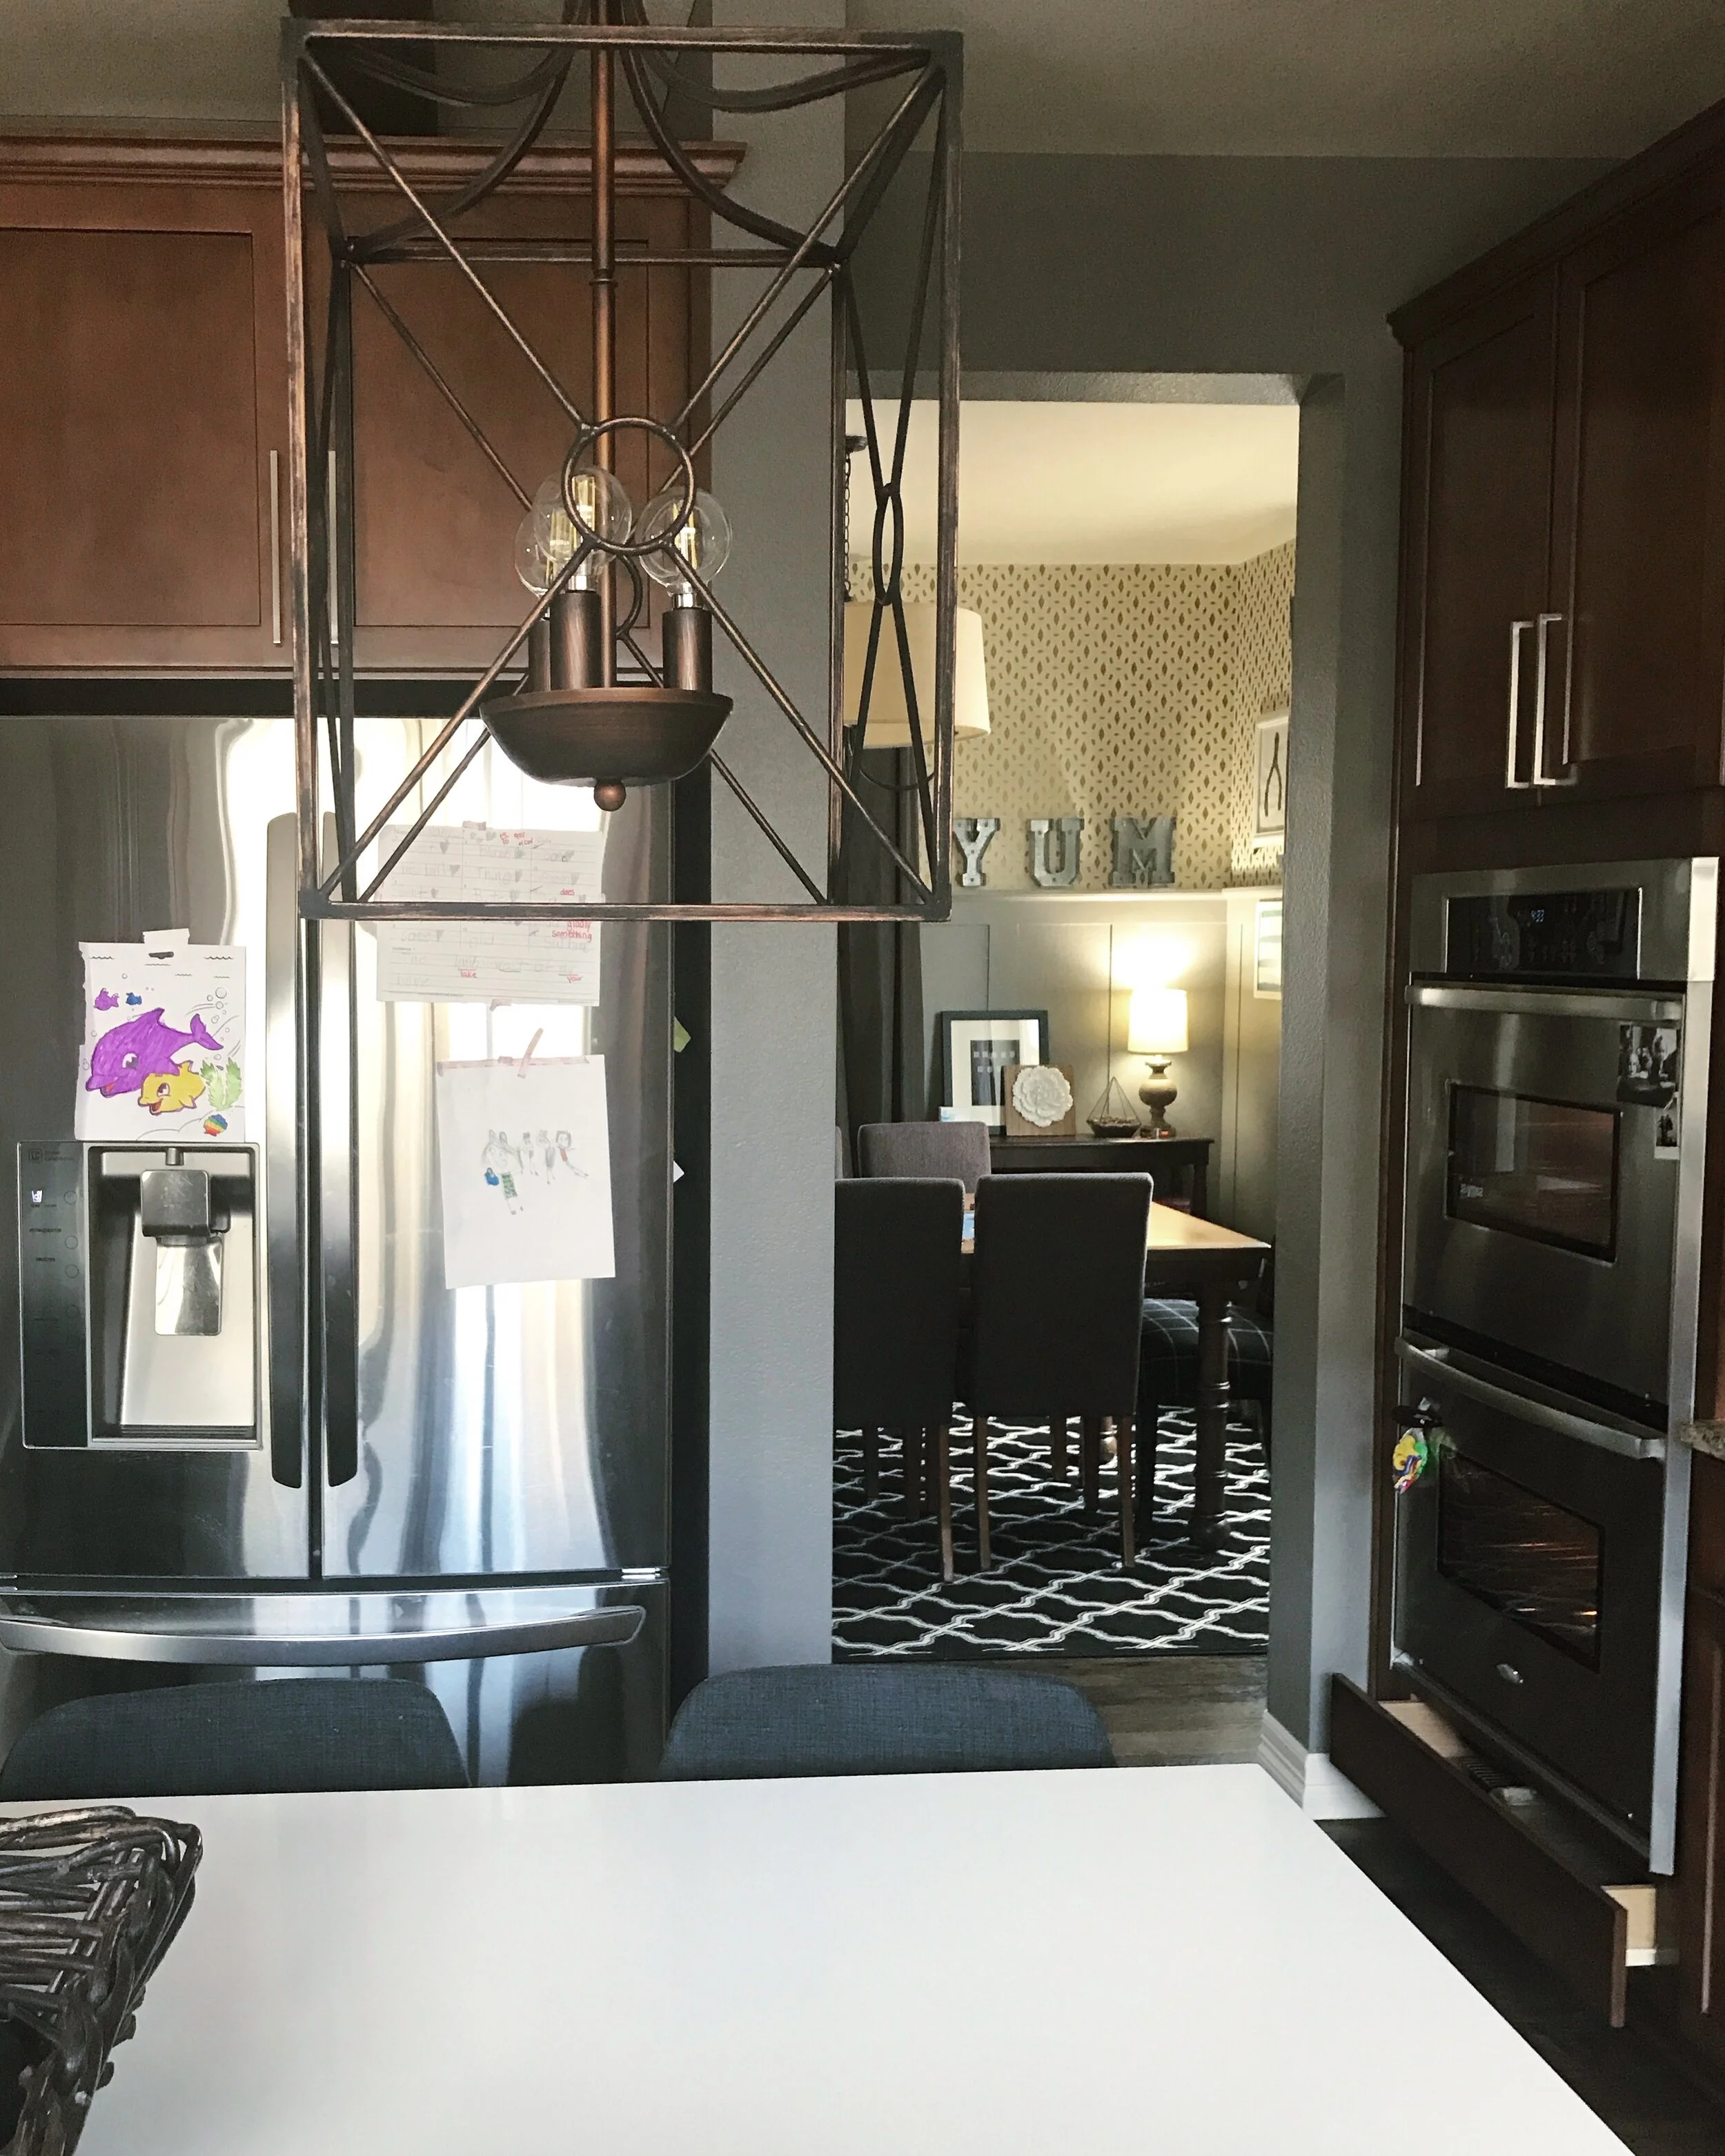
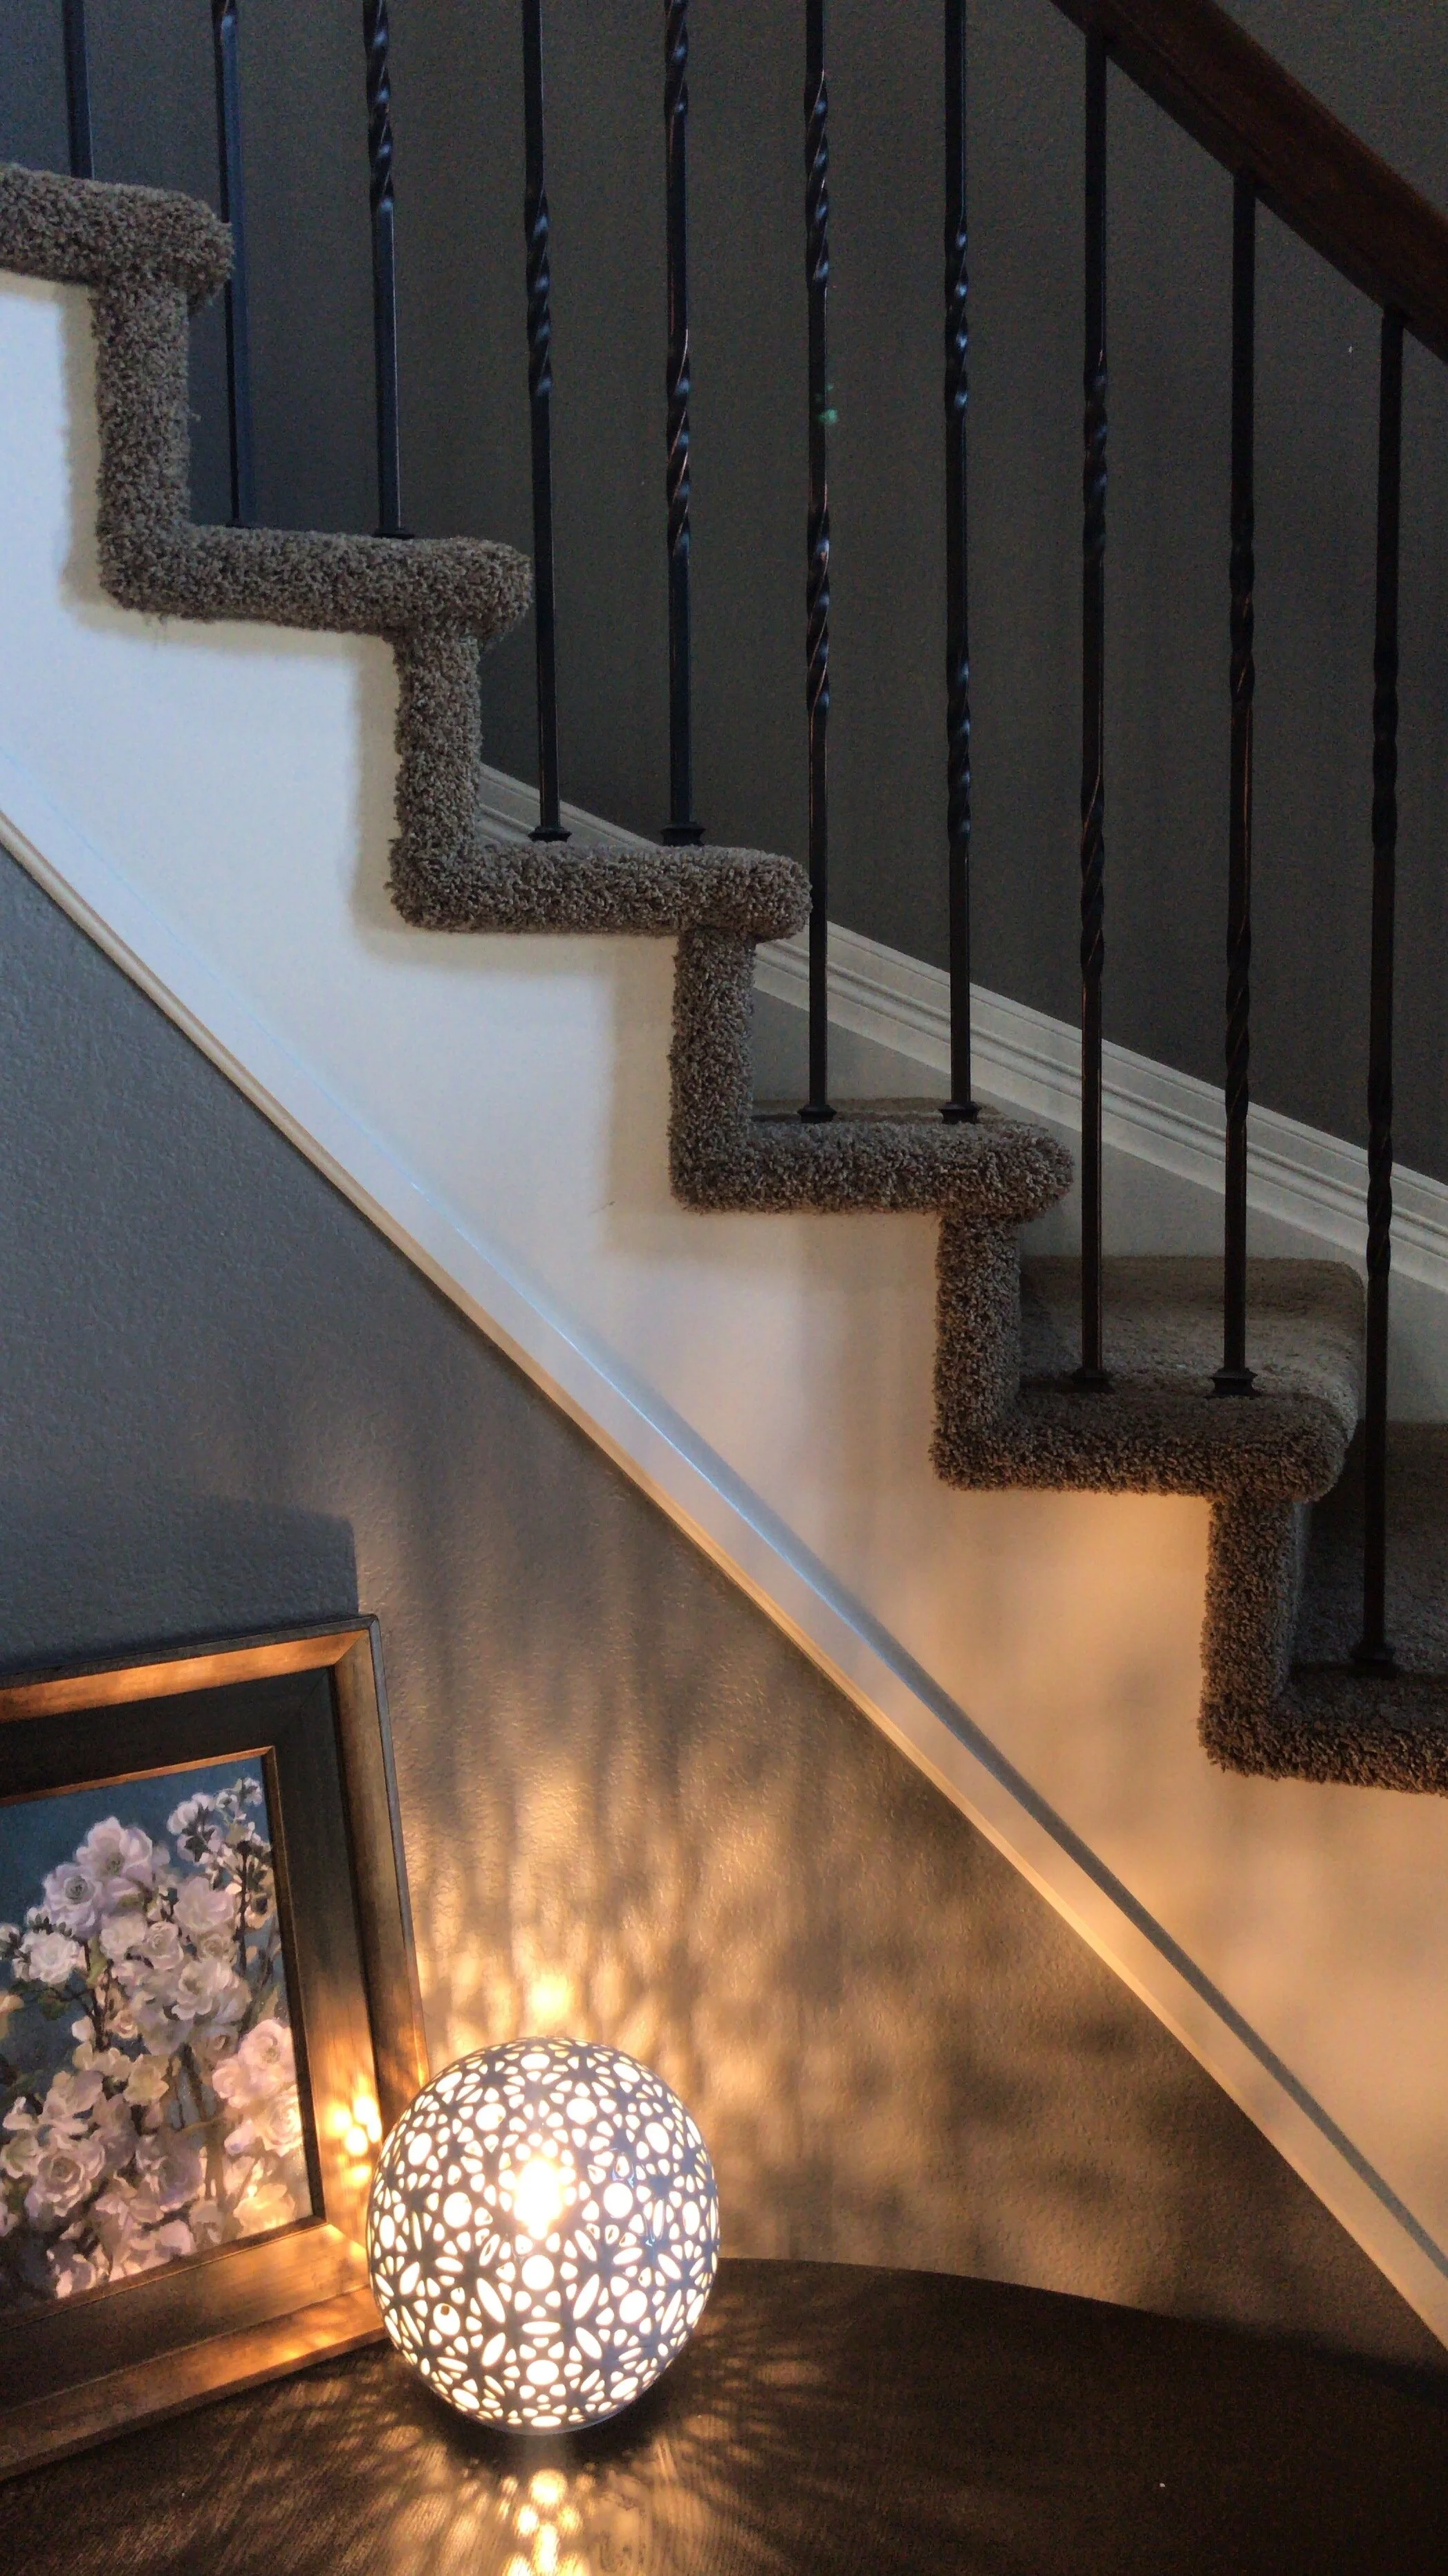
We look at the flooring, floor plan and special finishes (“TRIPPLE F’s”, I am realizing just now) as the foundation of our home. It’s the “initial sketch” to our painting. We have continued to add on, design around and build off of this foundation in layers over the years and we have learned along the way. But these are the foundational items that have stuck! Thus, we hope this gives you a jumpstart in separating your home from “builder grade” as you plan your layout and encourages you to impart your personality from the beginning.
If you have already built in a PUD or Master Planned Community and have learned from that process too, we’d love to hear what you did to keep the neighbors wondering how your home looks so different! Leave us a comment!
-Julia & Kevin.


